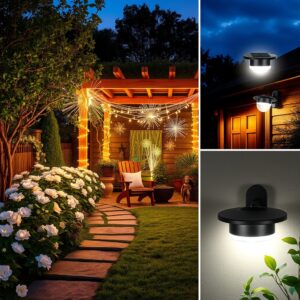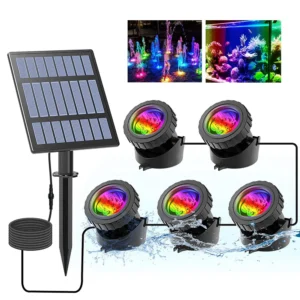
2pcs Solar Mushroom Lights – Outdoor Garden & Patio Lighting
Understanding Common Issues in Solar Lights
Solar lights are brilliant little beacons of eco-friendly magic. But like any gadget left outside to brave the elements, they can stumble now and then. Getting to know the usual culprits that trip up your solar glow is the first step toward bringing your garden lights back to life.
Why Solar Lights Stop Working
One of the sneakier foes is shade or obstruction. Even a stray leaf or a dusty window can block the sun’s rays from kissing the solar panel. Without a good soak of sunlight, there’s no juice stored for nightfall’s performance. It’s like trying to fill a glass with a trickle instead of a stream.
Then comes dirty panels. Dust, grime, or pollen quietly accumulate over days, muffling the sun’s energy. A solar panel lounging under layers of filth is a solar panel out of power.
A faded heartbeats in an old or dead battery. Solar lights rely on rechargeable batteries to hold onto the sun’s energy. When these batteries wear out, the light dims, flickers, or just gives up entirely.
Faulty sensors and corroded switches are less obvious villains. The light sensor, your solar light’s “on” and “off” switch, might glitch or lose sensitivity, fooled into thinking it’s still daytime. Corrosion from moisture invading the switch or wiring can cut off the electrical lifeline.
Speaking of moisture, water is relentless. Even a drop seeping into the casing or connections can cause havoc: short circuits, rust, and finally, silence.
Recognizing Signs of Solar Light Failure
So how do you tell your solar light is waving the white flag? Start with the obvious: it just doesn’t turn on when darkness falls. Or maybe it’s acting shy—flickering like a candle struggling in a breeze, or glowing with the enthusiasm of a dying ember.
Sometimes it’s less predictable—on and off, here and gone. Intermittent operation often signals a loose connection or unreliable sensor.
Once you spot these warning signs, don’t fret. They are clues guiding you to where this little lantern’s healing begins. With a clear eye on these common issues, your solar lights can brighten up your garden evenings again—and keep the twilight magic alive.

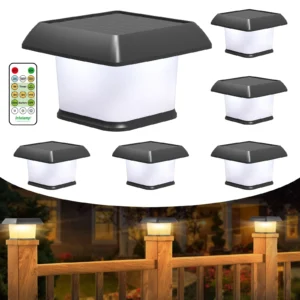
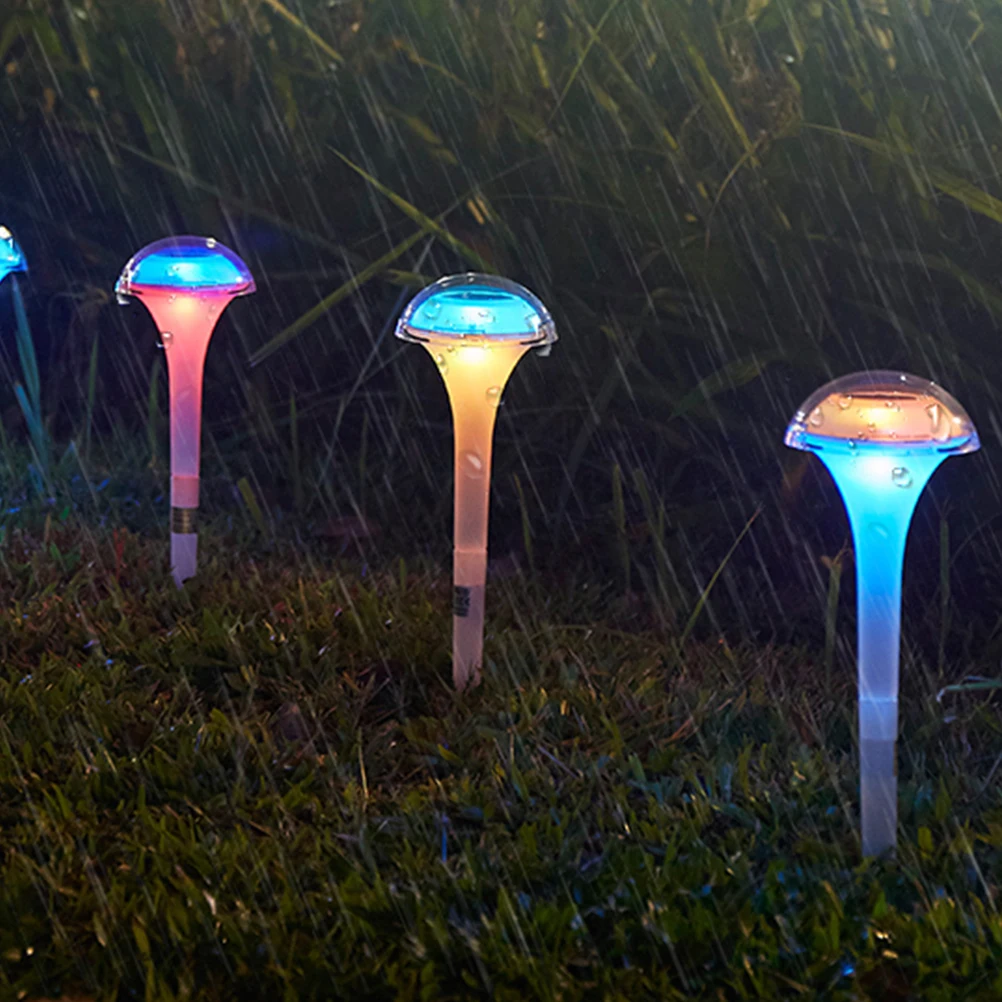
intelamp Outdoor Solar Post Light with Remote Control
Diagnosing and Troubleshooting Solar Lights
When your solar garden lights go dark or start acting up, don’t toss them out just yet. Most of the time, the fix lies in a simple diagnosis and a bit of hands-on troubleshooting. Here’s how to get to the root of the problem without overthinking it.
Step-by-Step Solar Light Troubleshooting
First, give the solar panel a good look. Dirt, dust, and grime are sneaky culprits that block sunlight, starving your lights of energy. Wipe it down gently with a soft cloth, making sure there’s no shade from nearby plants or structures. Position matters—a tilted or shaded panel may need relocating for a better sun catch.
Next, it’s time to check the battery. These power packs wear out over time, especially if they’re the older types. Remove the battery compartment cover and peek inside. If batteries look swollen, rusty, or just old, it’s a sure sign they need swapping out. While you’re at it, test if the battery can hold a charge by briefly powering the light directly, if possible.
Flip any switches on your solar light on and off a few times. Sounds too simple? It’s not. Corrosion or grime inside the switch can cause poor contact, and toggling the switch can break up the corrosion enough to restore a connection. Consider using a little electronic cleaner if you have some handy.
Check all wiring for damage or signs of corrosion, especially where wires connect to the solar panel and battery. If a wire looks broken, loose, or green with corrosion, it’s time for a cleanup or even a simple splice or solder to reconnect it.
Finally, take a glance at the sensor—this little eye tells the light when to turn on and off. Make sure it’s clean and unobstructed. A dirty or covered sensor can make the light think it’s daytime all night long.
Using Tools and Techniques for Diagnosis
If you want to get a bit techy, a multimeter is your best friend. Test battery voltage and wiring continuity to be sure the current flows where it should. This can quickly pinpoint whether a problem lies in the battery or wiring.
Don’t underestimate the power of visual inspection. Sometimes dust on the panel, a crooked connection, or a small crack in the housing tells the whole story.
And here’s a trick: flipping the switches repeatedly isn’t just habit or superstition. It sometimes resets internal circuits and clears minor faults from corrosion build-up—a quick reset that often does the trick.
By patiently peeling back layers—clean panels, fresh batteries, neat wiring, and clear sensors—you’re unlocking your solar lights’ magic again, bringing dusk back to life with their soft, sun-kissed glow.
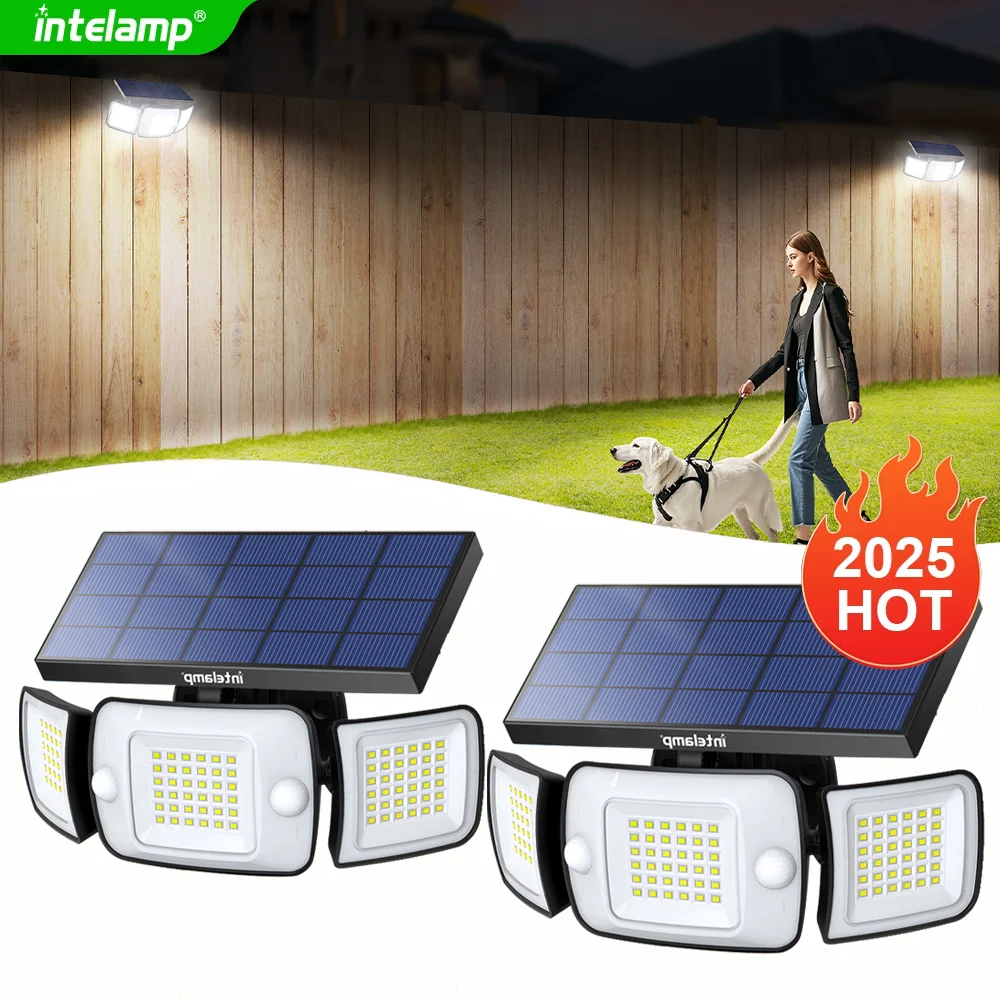
Solar Motion Sensor Lamp – 3 Modes LED Outdoor Wall Light
Solar Light Battery Replacement
When your solar lights start fading or simply refuse to glow, the culprit often hides in the battery compartment. Batteries are the heartbeat of solar lights, storing the sun’s magic during the day to cast their gentle glow at night. Over time, even the best batteries tire and need replacing to keep your garden shining bright.
Selecting the Right Battery Type for 2025
Forget old-school NiCd (nickel-cadmium) batteries—they’ve largely been outpaced by smarter, longer-lasting options. The modern go-to choices are NiMH (nickel-metal hydride) or lithium-ion rechargeable batteries. NiMH batteries pack more capacity than NiCd, hold their charge better, and don’t suffer as much from the dreaded “memory effect.” Lithium-ion batteries take it further with even greater energy density and longer lifespans, though they can be pricier. For most garden solar lights, NiMH strikes a solid balance: reliable, affordable, and environmentally friendly.
When picking your replacement battery, look for these specs: the right voltage (usually 1.2V for standard solar light batteries) and a capacity matching or exceeding the original (measured in milliamp-hours, or mAh). A higher capacity means longer light time after sunset—perfect if you want your garden to glow late into the evening.
How to Replace Solar Light Batteries Safely
Safety and care go hand in hand with battery swaps. Start by making note of how your old batteries sit inside the compartment—pay attention to the plus (+) and minus (−) signs; reverse installation can keep your light dark instead of bright.
Next, gently remove the tired cells, avoiding any rough handling or metal contact that could spark trouble. Slide your fresh batteries into place with the correct orientation, a snug fit ensures solid connection and a steady glow. Before closing up, give the battery contacts a quick check for corrosion or dirt; a clean touchpoint is a bright light’s best friend.
Once installed, test your solar light in sunlight or with a flashlight over the panel—if it flickers to life, you’re good to go. If not, double-check your connections and battery alignment.
Where to Buy Replacement Batteries and Parts
Reliable parts mean fewer headaches and longer-lasting luminosity. For trustworthy replacements, specialized solar light retailers often carry the exact batteries crafted for your model. Online marketplaces like Amazon also offer a wide selection—just be sure to check user reviews and specifications for compatibility.
For an extra edge in your repair journey, check out the Linkind Solar Light Parts Guide. It’s a handy resource that walks you through parts selection, ensuring you pick the perfect fit to bring your garden’s glow back to life.
Replacing solar light batteries is a straightforward, cost-effective way to keep your outdoor space twinkling warmly, night after night. With the right batteries, a little care, and a steady hand, your solar lights will shine on, turning your garden into a place of calm enchantment under the stars.
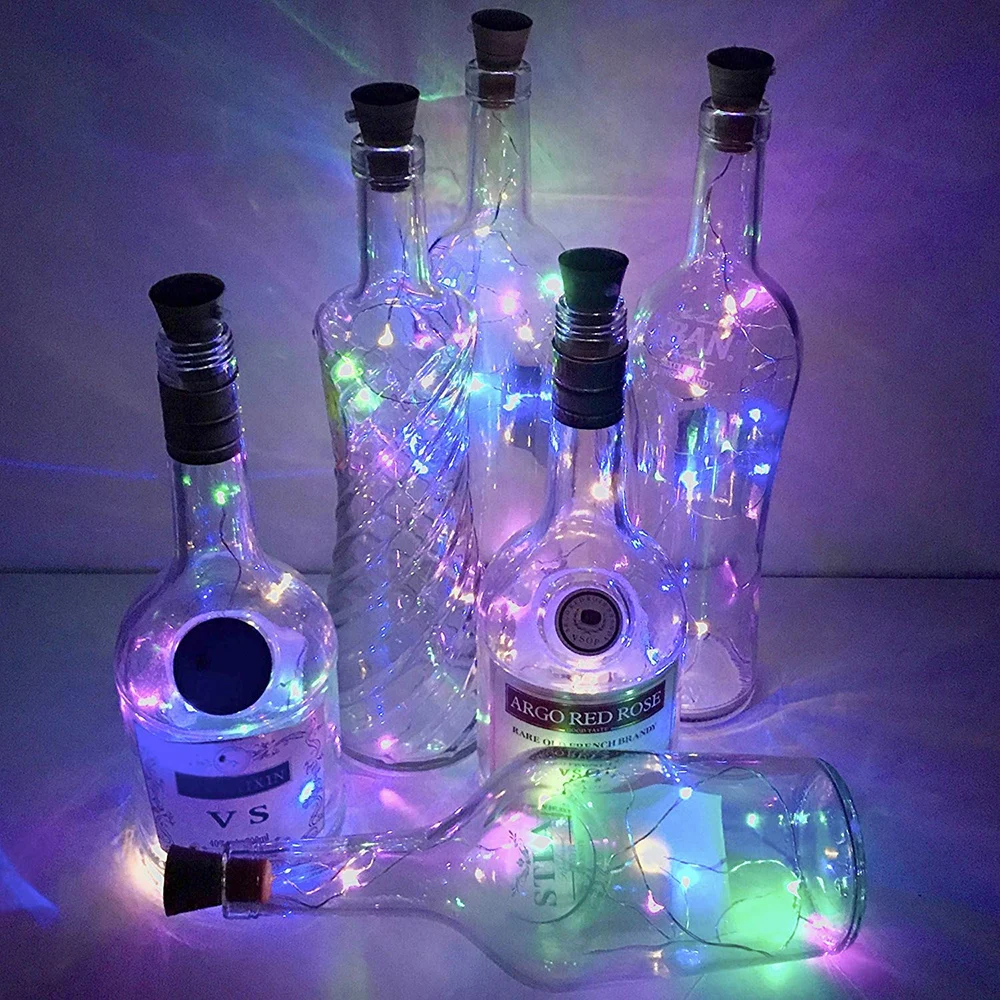
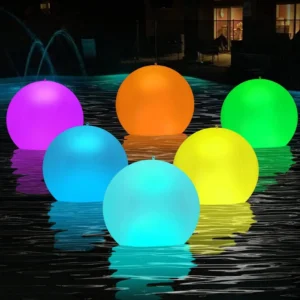
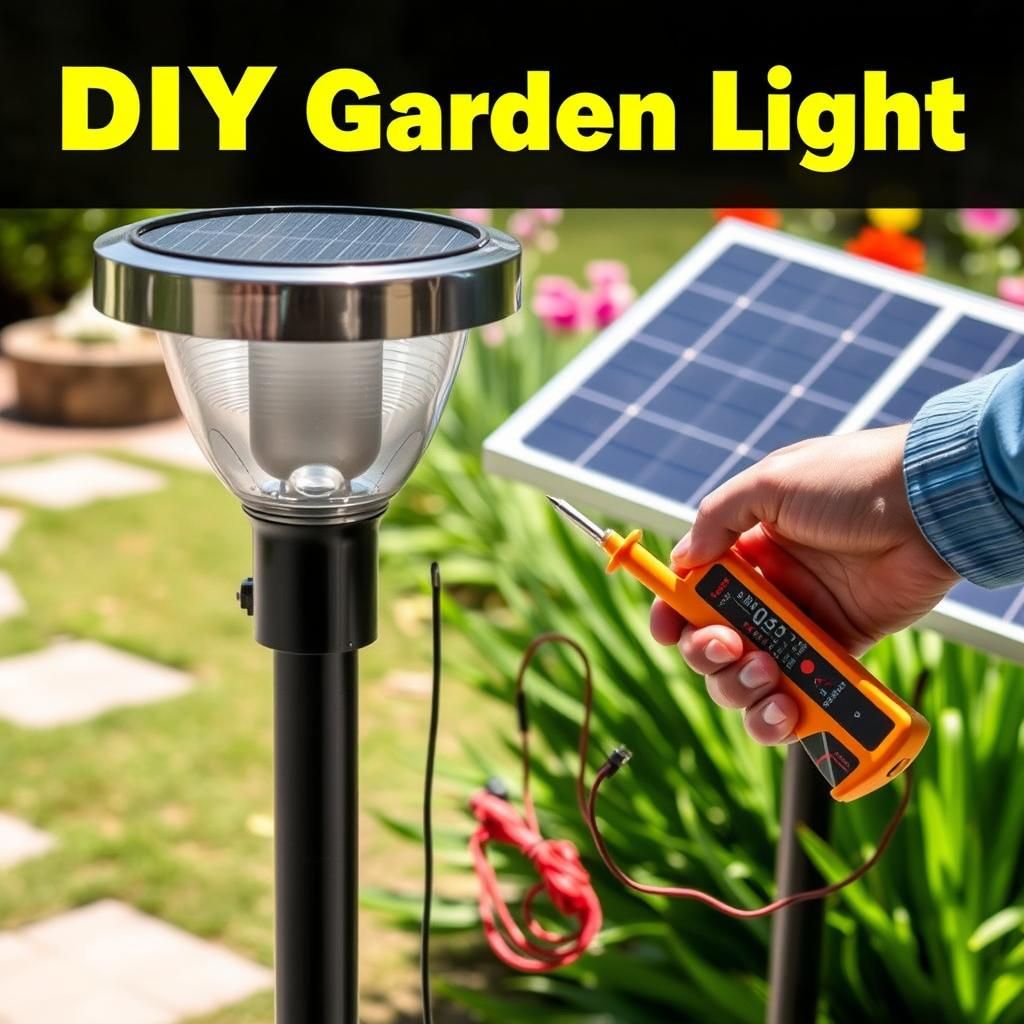
Solar Wine Bottle Lights for Outdoor DIY Night Lighting
Cleaning and Maintaining Solar Panels
Proper Solar Panel Cleaning Techniques
A dusty, grimy solar panel is like a clogged window — it blocks the sun’s energy and keeps your lights in the dark. To keep your solar lights glowing brightly, give those panels a gentle cleanse every month or two. Use a soft cloth or sponge dipped in warm water mixed with a little mild soap. Avoid anything abrasive or harsh chemicals; a rough scrub can scratch the panel’s delicate surface, and chemical residues can linger, reducing efficiency over time.
When cleaning, be gentle and thorough—wipe away bird droppings, pollen, and any film that dulls the surface. These invisible culprits quietly steal the sunshine your solar lights need to dance after dark. If you notice stubborn spots, dampen the cloth and let it sit for a moment before wiping, giving nature’s grime a chance to lift.
Dry the panels afterward with a clean, soft towel or just let them air dry in the sun. Avoid cleaning your panels at high noon; early morning or late afternoon, when the panels are cooler, is the perfect time to pamper your solar garden friends.
Ensuring Optimal Solar Panel Positioning
Even the cleanest panel can’t work magic if it’s stuck in the shade. Position your solar lights where they catch full, direct sunlight for most of the day—think open garden beds, rooftops, or along clear pathways. Keep an eye on nearby trees or new growth that might sneak shadows over your panels.
After storms, windy days, or dusty spells, remember that a quick panel check isn’t just a chore—it’s a chance to connect with your garden’s rhythm. Remove leaves, dirt, or debris that might have settled overnight.
With clean panels basking in generous sunlight, your solar lights turn into little powerhouses of sustainable magic. Their glow won’t just be brighter—it’ll whisper of care and attention, weaving warm twilight stories across your outdoor haven.

G40 Solar String Lights – Outdoor Patio LED Lights
Fixing Solar Light Wiring and LEDs
Solar lights are charming additions to any garden, but like all outdoor gear, they’re not immune to wear and tear. When your solar lights flicker, fail to glow, or just seem a bit “off,” wiring issues and LED problems often lie at the heart of the matter. Let’s break down how to spot those hiccups and bring your solar lights back to life with simple fixes and a bit of hands-on care.
Identifying Wiring Issues
First, start with a good look. Solar light wiring, tucked inside compact housings, faces the elements—rain, humidity, and temperature swings—which can lead to corrosion or brittle, cracked wires. If your solar light dims or doesn’t light up at all, wiring could be the sneaky culprit.
Check connectors and terminals for white or greenish corrosion—a sure sign moisture has taken hold. Wiggle the wires gently: any looseness or breakage means the connection isn’t reliable. If you have a multimeter, use it to test wiring continuity. A break in the circuit means power can’t flow from the battery to the LED, causing your light to fail.
Repairing and Replacing Wiring
Once you pinpoint corroded switches or terminals, roll up your sleeves for some TLC. Start by cleaning corrosion with a little white vinegar or baking soda paste applied gently with a cotton swab—just enough to clear the grime without damaging components. Dry everything thoroughly before reassembling.
For loose or broken wires, secure connections is the name of the game. Strip the wire ends back a bit, twist them tightly, and for a truly sturdy fix, solder the joints. Don’t have a soldering iron? Wrap the wires firmly with electrical tape, but know that this is a temporary patch. Proper soldering or replacing damaged sections ensures your garden light won’t flicker when a breeze blows.
Replacing Solar LEDs
LEDs are the twinkling stars of your solar garden. When they fade or refuse to glow despite fresh batteries and solid wiring, it’s time for replacement. Signs you need new LEDs include dim light output, no light at all, or inconsistent flickering.
Match your new LEDs carefully: size, voltage, and brightness all matter. Check the original LED markings or consult the solar light manual to find compatible replacements. To swap, gently remove the old LED by desoldering or carefully unclipping, then secure the new one in place. Test the light in daylight to see if the solar panel charges the battery, then wait until night for that magical glow to return.
With a bit of patience, some basic tools, and these steps, your solar lights can sparkle anew—ready to cast warm, inviting glimmers through your garden twilight once again.
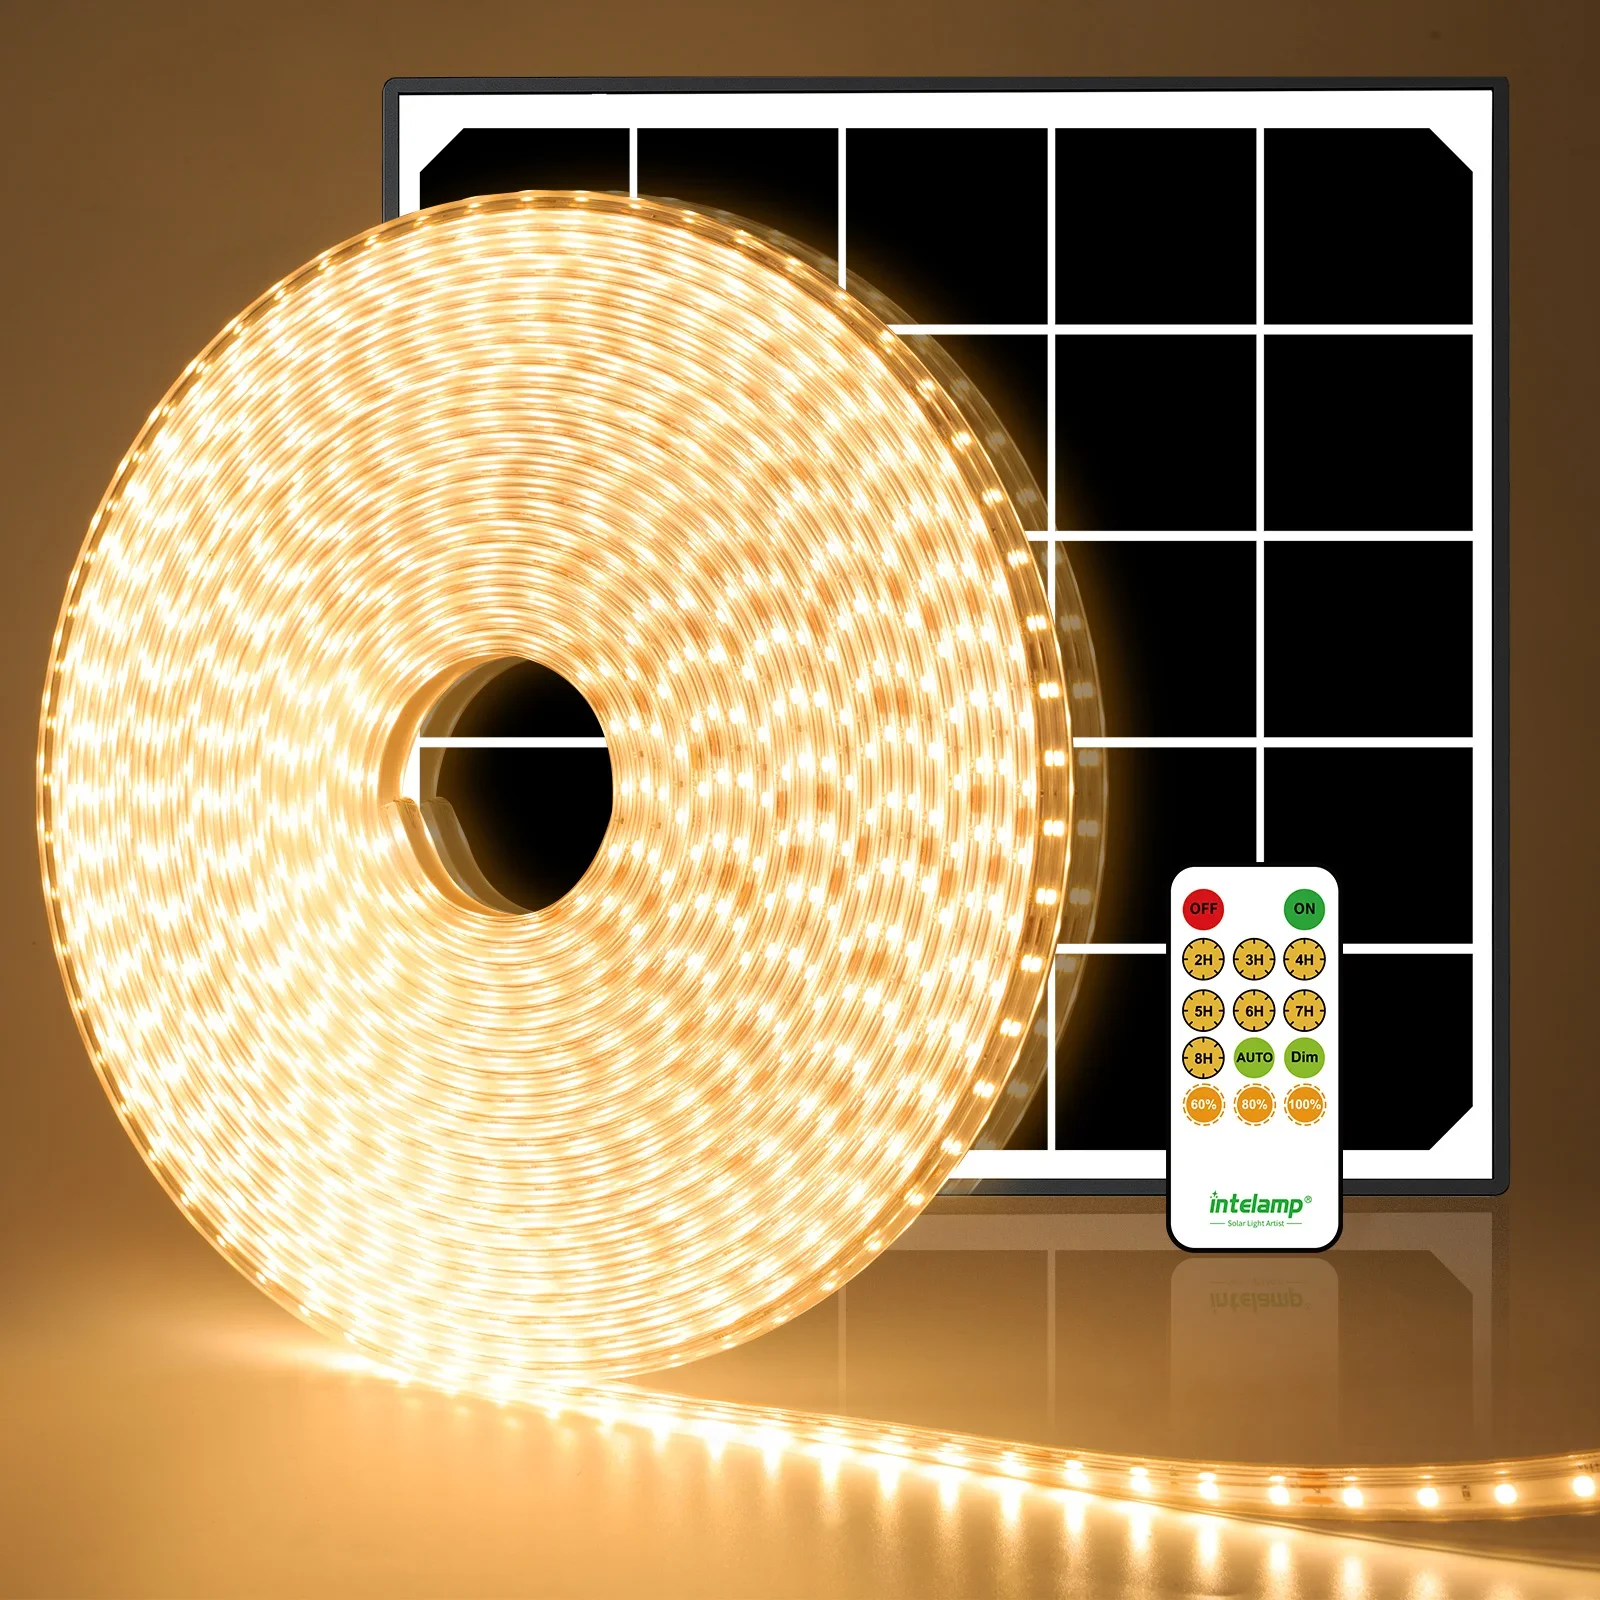
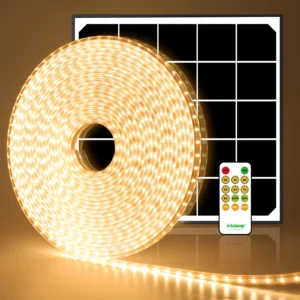
Solar Strip Lights Outdoor – 6000mAh 32.8FT LED Lights
Solar Light Maintenance Tips for Extending Lifespan
Keeping your solar garden lights shining bright takes a little care, but that effort pays off with cozy, glowing nights for seasons to come. Here’s a straightforward approach to help your solar lights last longer and work better—no fancy tools required.
Practical Tips to Prolong Solar Light Durability
First off, make cleaning your panels and inspecting the batteries a regular habit. Dust, dirt, and grime are the sneaky culprits that steal sunlight and dim your lights. Give the panels a gentle wipe every month or so with a soft cloth and mild soap if needed. Skip the harsh chemicals—they’re like rough scrubbing for a delicate face. Keeping panels clean is like feeding your lights a steady diet of sunshine.
Sealing is another key move. Many solar lights have joints or tiny openings that can invite moisture, which quietly corrodes connections and wrecks batteries. Run a bead of clear silicone around these vulnerable spots to keep water out, especially before rainy seasons roll in. It’s a simple shield that extends life quietly but powerfully.
Placement makes a surprising difference. Where you put your solar lights matters as much as how you care for them. Find spots where the sun plays unfiltered for hours during the day. Shady corners, underneath thick foliage, or tight spots near fences kill the energy supply and leave your lights limp at dusk. Think of it as giving your lights a sunny lunch break, every day.
When harsh weather approaches—whether it’s winter’s frost or a fierce thunderstorm—consider bringing your solar lights indoors. Storing them away safely during extreme conditions protects the delicate internals and batteries, giving them a longer runway for glowing evenings.
Routine Checks and Care
Don’t wait for a total blackout before checking your lights. A monthly peek inside can catch corrosion early—look for any white or green powdery buildup on terminals—and keep an eye on battery health. Batteries don’t last forever, so swapping them out proactively before they completely die keeps your garden’s sparkle steady.
Also, keep wiring dry and firmly connected. Loose wires or wet contacts sneak in dimming or flickering. Securing cables and wiping moisture away after rain can save you the headache of bigger repairs later.
With these practical habits, your solar lights don’t just stay functional—they thrive. A little attention transforms simple garden fixtures into a glowing embrace every evening, sustainably and reliably.
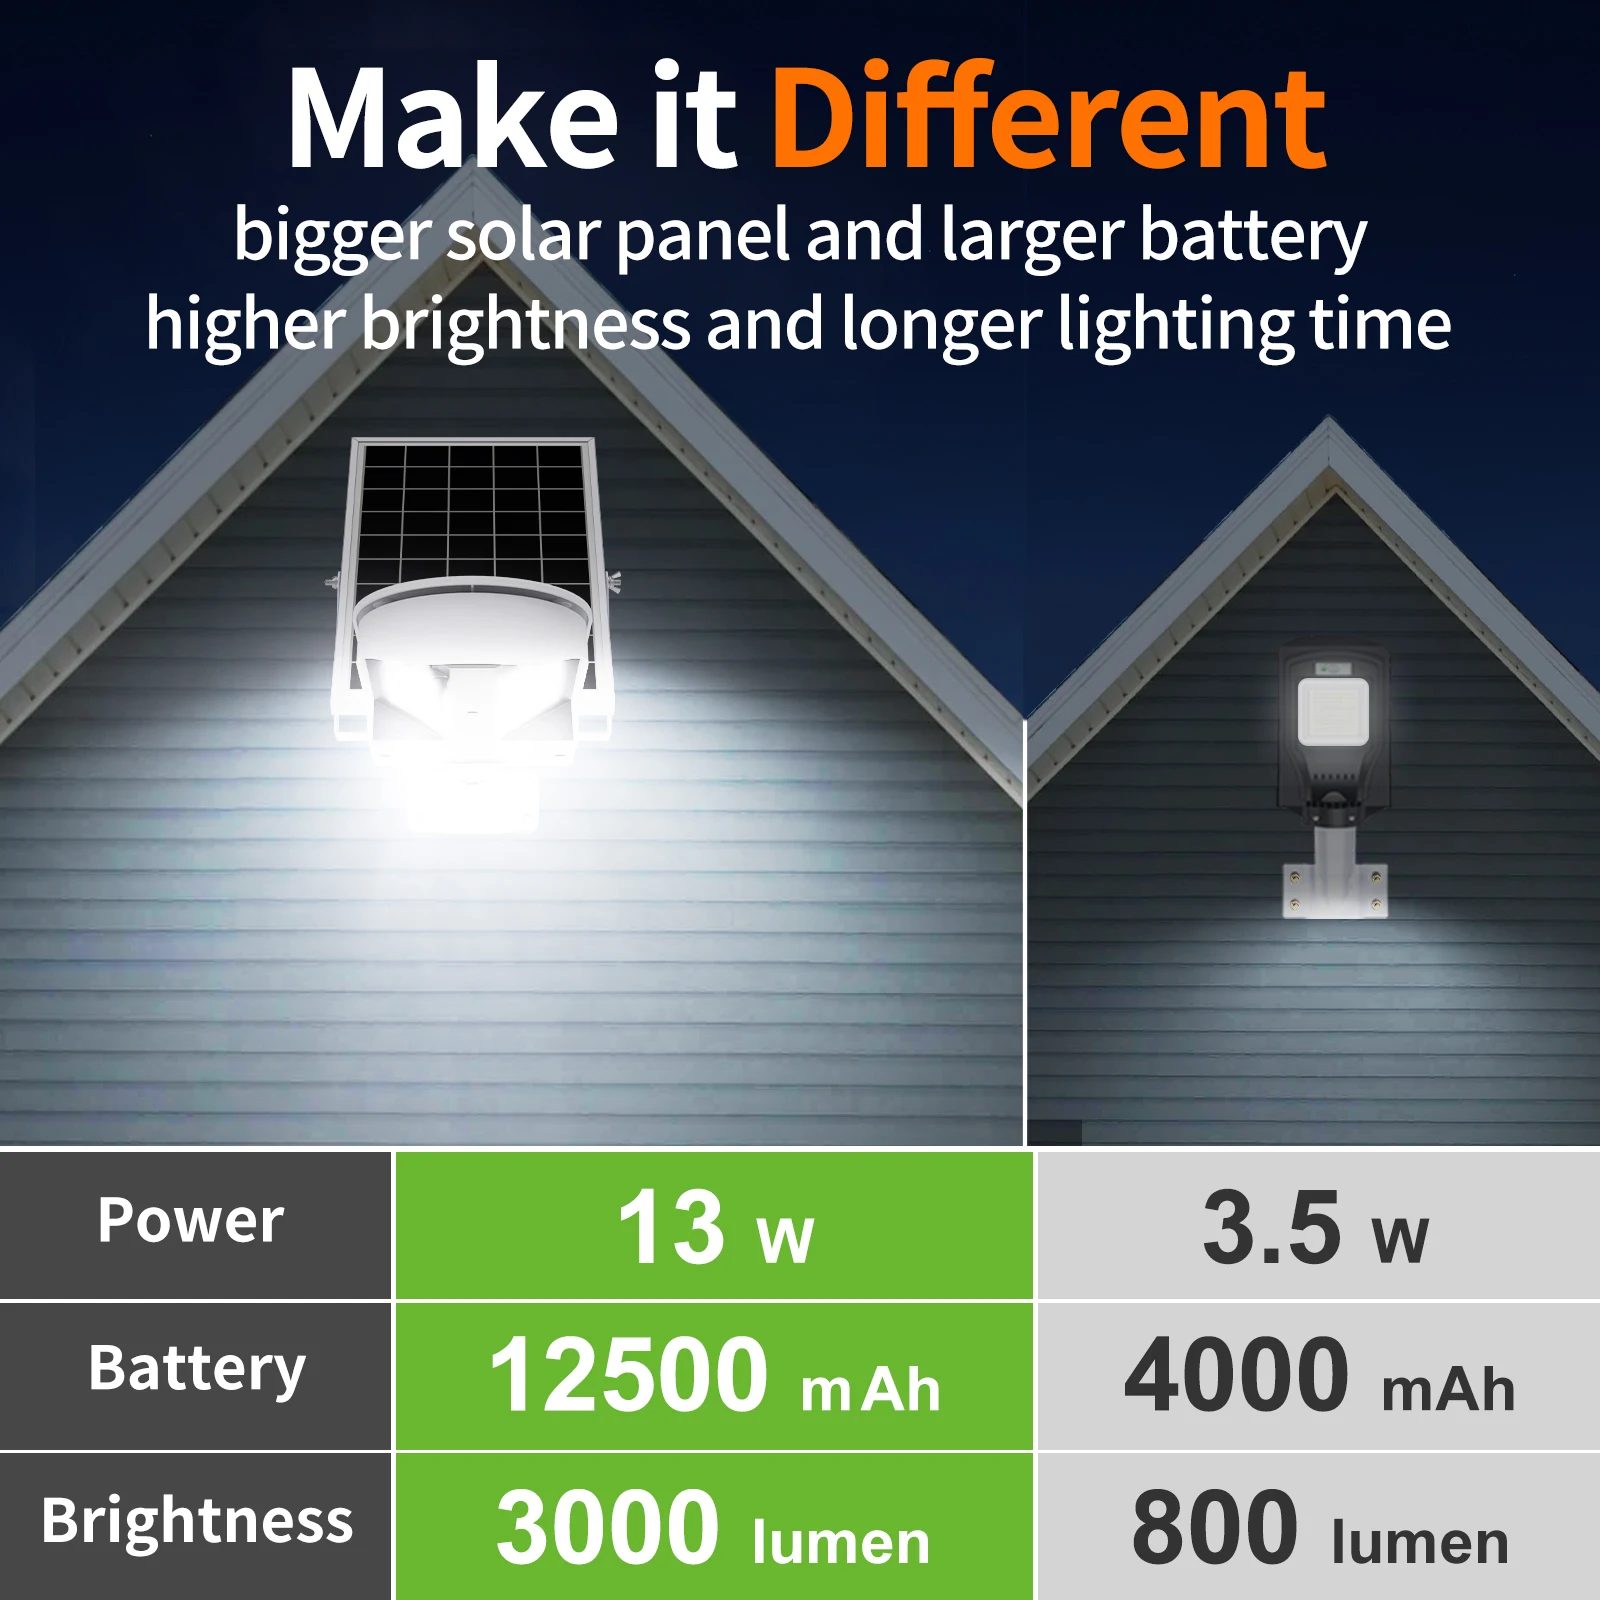
2025 3000LM Solar Motion Sensor Light – Waterproof Outdoor Lamp
Recommended Resources and Further Reading
When you’re elbow-deep in tinkering with your solar lights, a solid arsenal of trusty guides and resources can be your best friend. Whether you’re a hands-on DIY enthusiast or just starting to dip your toes into solar light repair, these carefully selected resources offer clear, practical advice to help you troubleshoot, fix, and maintain your garden’s glowing magic.
DIY Repair Guides and Tutorials
Jumpstart your repair project with straightforward, accessible tutorials. “Strength of the Small: DIY Solar Light Repair” breaks down the basics in a no-nonsense style, perfect for first-timers looking to bring their solar lights back to life. If your lights just won’t switch on or keep flickering, “Today’s Homeowner: When Solar Lights Won’t Work” walks you through common causes and quick fixes that’ll save you time and frustration. Both guides keep things casual and practical, so you feel confident in every twist and turn of your repair journey.
Comprehensive Fixing Instructions
For those who crave detailed step-by-step guidance, “Inlux Solar: How to Fix Solar Lights” is a treasure trove of technical tips on everything from battery changes to sensor recalibrations. “Homes & Gardens: Why Aren’t My Solar Lights Working” complements this with clear explanations of why your solar fixture might refuse to shine, sprinkling in pro tips to get those lanterns glowing again.
Parts and Battery Replacement Guides
Nothing kills the vibe like a dead battery or a missing part. “Solar Mentors: Replacing Solar Light Batteries” is your go-to for understanding how to pick the right batteries and swap them safely, ensuring your lights stay powered long into the evening. If you need a deeper dive into parts, the “Linkind Replacement Solar Light Parts Guide” lays out options in an easy-to-follow way, covering what to look for and how to source components that fit perfectly.
Tips to Extend Solar Light Lifespan
Once your lights are shining bright again, keep them that way with smart maintenance. The “FliGreen: 5 Practical Tips to Extend Solar Lights’ Lifespan” offers a crisp checklist of habits that guard your garden’s glow against the wear and tear of seasons, from weatherproofing to battery care, turning your outdoor space into a sustainable, enchanting retreat.
Community Advice and Troubleshooting
Sometimes, nothing beats real-world advice from folks who’ve been there. The Quora thread “Reasons Solar Lights Suddenly Stop Working” is packed with shared experiences and quick fixes from a community of solar light fans. It’s like having a group of knowledgeable neighbors ready to lend a hand when stubborn issues arise.
Tap into these resources to sharpen your repair skills and keep your garden sparkling brilliantly—a little help goes a long way when you’re making your outdoor space a solar-powered sanctuary.