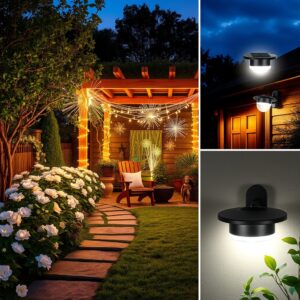

Solar Dwarf Statue Light – Outdoor Garden Gnome With Illumination
1. Introduction to Cleaning Solar Lights
Keeping your solar lights clean isn’t just about appearances—it’s about performance. Solar lights rely on their panels soaking up as much sunlight as possible during the day to fuel their glow at night. When dirt, dust, grime, or even bird droppings settle on those panels, it’s like pulling a curtain over the sun. Less sunlight means less energy absorbed, which leads to dimmer lights and shorter run times. Regular cleaning is the key to keeping your solar lights shining bright and working efficiently.
Over time, solar lights face many challenges outdoors. Dust carried by the wind clings to surfaces and builds up. Leaves or pollen from nearby trees stick around, while morning dew and rain can mix with dirt to form stubborn grime. Even insects and small critters sometimes leave their marks. Without regular attention, this buildup isn’t just unsightly—it directly blocks the sunlight that powers your lights.
When solar panels get covered with dirt and grime, their ability to collect solar energy drops significantly. Studies show even a thin layer of dust can reduce energy absorption by 10-25%, while thicker buildup can cut efficiency even more. The results? Lights that don’t shine as long or as brightly, leaving your garden or pathway underlit when it should be glowing. Frequent cleaning keeps those panels clear and functioning near peak efficiency.
Another common issue dirt causes is hotter panels. When grime traps heat, it stresses the panels and their components, potentially shortening their lifespan. Think of it like your solar lights wearing a thick coat on a hot day—it not only limits how much sunlight they capture but also adds strain to their systems. Cleaning off dust and grime helps your lights run cooler and last longer.
Dirt and debris can also trap moisture in little crevices, creating conditions where corrosion or electrical damage can begin. Over time, this can cause flickering, dim spots, or even complete failure of the solar lights. By maintaining a clean surface, you reduce these risks and keep your solar lights healthy and strong through varying weather.
Cleaning solar lights is surprisingly simple and can be done with items you already have at home. A soft cloth, mild soap, and water are usually all you need to restore their shine. Taking the time to wipe down panels every couple of months ensures they’re ready to soak up maximum sunlight day after day. Not only does this keep them looking neat, but it also means fewer headaches for you with flickering or dead lights.
It’s worth noting that a regular cleaning routine is especially important if you live in areas with particular challenges—like dusty roads, heavy pollen seasons, nearby construction, or lots of bird activity. Environmental factors play a big role in how often your solar lights need attention. But even in cleaner environments, seasonal cleaning helps manage natural dust accumulation.
Aside from making your solar lights more efficient, regular cleaning helps you spot other problems early. Take a moment to check wiring, batteries, and fixtures during cleaning sessions. Catching loose parts or corrosion before they worsen saves time and money while keeping your outdoor space reliably lit.
In short, clean solar lights aren’t just prettier—they’re smarter, more durable, and far better at lighting your evenings. If you want your garden paths, patios, or yard to bask in a steady, energy-efficient glow, cleanliness is key. It’s an easy investment of a little time with a big payoff in lasting brightness and lower maintenance.
So before you let dirt dim your nights, set a schedule to clean your solar lights regularly. Your garden deserves to shine, and with a bit of care, your solar lights will deliver every night.
Solar Meteor Shower Lights for Holiday Decoration – 30/50cm
2. Best DIY Methods to Clean Solar Lights Effectively
When it comes to keeping your solar lights shining bright, a little hands-on care goes a long way. Cleaning them doesn’t have to be complicated or costly—most of the time, you can tackle it yourself with simple tools and solutions you already have around the house. The goal is to clear away dirt, grime, and buildup that block sunlight from reaching the solar panels while protecting the delicate components inside. Here’s how to do it right.
Step-by-step Cleaning Instructions
Start with the basics: grab a damp cloth and a bit of mild dish soap. Avoid abrasive or harsh cleaners—they can damage the solar cells or scratch the panels. Using a cloth dipped in soapy water, gently wipe the surface of the solar panels. Go slow and don’t press too hard; these panels are sensitive and need a light touch to avoid damage.
If you spot stubborn dirt or dried grime, switch to a soft microfiber cloth or a soft brush. Microfiber is great because it lifts dirt effectively without scratching. For textured or hard-to-reach areas, a gentle brush works well—think of a soft toothbrush or a paintbrush with soft bristles. Carefully scrub in small circular motions to loosen dirt without applying too much pressure.
Get familiar with all parts of your solar lights: the panels, the casings, and the fixtures that protect the bulbs. Wiping those down with the same gentle technique helps keep dust and dirt from creeping inside or dulling the glow.
Safe Cleaning Products to Use
When it comes to what to clean with, mild and natural will always be your best friends. Here’s what works well:
- Mild dish soap: This is usually enough to break down typical dirt and grime without harming your lights.
- Vinegar solution: For tougher buildup, a diluted vinegar solution (a mix of one part white vinegar and three parts water) can help cut through stubborn residues. Just apply with a soft cloth and rinse off promptly with clean water to avoid any corrosion.
- Biodegradable cleaners: Eco-friendly options designed for delicate surfaces are another good choice, especially if you want to keep your cleaning routine green and chemical-free.
Avoid aggressively scented or chemical-laden household cleaners—they can shorten your lights’ lifespan. Keep it simple and gentle.
Expert Tip: Disassemble Solar Lights Before Cleaning
For a thorough clean, it’s worth taking your solar lights apart carefully. First, always remember to turn the lights off. This is important for your safety and to protect your lights’ electrical components.
Next, remove the solar panels, fixture covers, and batteries gently. Taking these components out lets you clean every nook and cranny. This is especially useful if dirt has gathered inside hinges, crevices, or under protective glass.
While the panels soak up sunlight, batteries store the energy that powers your lights. If batteries look worn or corroded, consider cleaning battery contacts gently or replacing the batteries to keep performance smooth.
When disassembling, keep track of how pieces fit together to avoid frustration when it’s time to reassemble. Make a mental note or snap photos for easy reference.
By following these simple DIY methods, your solar lights will regain their sparkle and shine, soaking in sunlight efficiently and lighting up your evenings like new. Regular, gentle cleaning protects your investment and helps you enjoy those warm, solar-powered nights without fail. It’s an easy way to keep your garden or yard lit up brilliantly, all year round.
Color Changing Solar Dandelion LED Garden Stake Lights
3. How Often Should You Clean Solar Lights?
Figuring out how often to clean your solar lights is key to keeping them working their best without spending too much time on upkeep. A general rule of thumb: aim for a good cleaning every two to three months. This schedule strikes a balance, warding off buildup that blocks sunlight while avoiding the hassle of constant maintenance. But like many things in life, there are a few factors that can speed up or slow down this timeline.
Weather Conditions
If you live somewhere dry and dusty, your solar lights will collect dirt faster. Wind can carry fine dust and grit that settles on the panels, creating a layer that cuts down on sunlight absorption. After a dry spell, you’ll likely notice a dull film forming more quickly. In contrast, areas with frequent rain might seem like a natural cleaning cycle—the rain washes away many of the particles that settle on solar panels. But don’t forget rain can also bring pollen or carry debris that sticks and needs an occasional manual wipe.
In regions with heavy pollen seasons or nearby flowering trees, solar lights tend to pile up pollen dust, which acts as a sneaky barrier to sunlight. Meanwhile, coastal areas can face salt spray or sand deposits that settle on surfaces and degrade light performance. If your solar lights feel like they’re dimming steadily, check for weather-driven buildup and adjust your cleaning schedule accordingly.
Location and Placement
Placement matters, too. If your lights sit under tree canopies, they’ll likely need more attention because of leaves, sap, bird droppings, and falling debris. These naturally block sunlight and can mix with rain to create a sticky grime that doesn’t clear on its own. Lights placed in open, sunny spots may stay cleaner longer but still gather dust, especially if nearby roads or construction sites kick up particles.
If your solar lights are mounted near gardens or flower beds, they can collect sap, nectar, or dirt more quickly. That calls for a little extra vigilance during sticky spring and summer months. On the other hand, lights installed on patios or patios with lighter foot traffic generally require less frequent cleaning.
Seasonal Considerations
Keep an eye on how the seasons affect your outdoor space. Fall means leaves, twigs, and other organic debris dropping on your panels. Winter might bring snow or frost that can coat lights, so while cleaning frequency might slow (since the sun’s lower intensity limits charging anyway), keep an occasional check to clear off heavy snow or ice buildup that blocks sunlight.
In spring and summer, birds tend to be more active, and insects can leave behind residue that dulls the glass on your solar panels. Warm weather can also cause pollen dust to accumulate even faster, so those seasons often call for more frequent cleaning.
Visual Checks Guide Frequency
If you’re unsure whether it’s time to clean, a simple visual inspection works wonders. Look for anything dull, dusty, or sticky on the panels. A quick run of your fingers across the surface can help identify grime buildup, and spotting smudges, water spots, or dirt means it’s time to get the cloth and soapy water out.
A clean, shiny panel typically means your solar lights are in good shape and absorbing plenty of sunlight. If your lights dim noticeably sooner than usual or flicker, dirt buildup might be the culprit. That’s your cue to clean immediately regardless of whether it’s been three months since your last session.
Summary: Tailor Your Cleaning Routine
There’s no one-size-fits-all answer here, but every 2-3 months is a solid starting point. Adapt that schedule depending on your garden’s environment and climate. In dusty or pollen-heavy places, you might find yourself cleaning monthly, while in calmer areas, twice a year could be enough.
The best approach? Keep an eye on your solar lights regularly, especially after storms, dry spells, or seasonal changes. Staying proactive with maintenance ensures your lighting stays bright and reliable—not just on the first night after installation but year-round.
Cleaning solar lights on a well-thought schedule keeps your garden glowing efficiently and looking great with minimal fuss. So grab a soft cloth and get a feel for what your setup needs—your solar lights will thank you with nights full of steady, eco-friendly light.
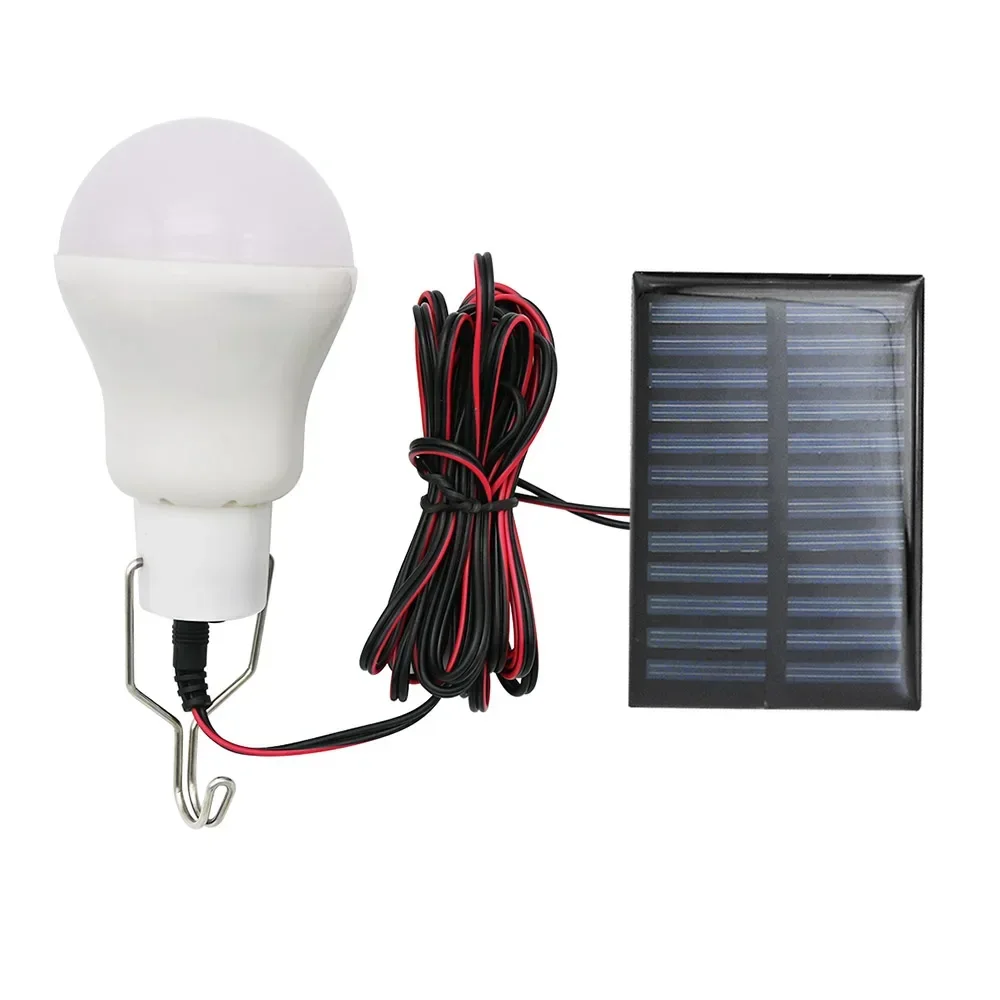
Solar Light Bulb Outdoor Solar Powered Light Bulbs Power Bank Camping Light
4. Common Mistakes to Avoid When Cleaning Solar Lights
Cleaning your solar lights regularly is essential to keep them shining bright and working efficiently. But even with the best intentions, certain mistakes can hurt more than help. Taking care of your solar lights means knowing what to avoid as much as knowing how to clean them properly. Here’s a rundown of common pitfalls so your maintenance efforts don’t accidentally backfire.
Avoid Abrasive Materials That Can Scratch Solar Cells
Solar panels and lights are delicate devices built with sensitive cells designed to soak up the sun’s rays. Using rough or abrasive materials, like steel wool, scouring pads, or even stiff brushes, can easily scratch the surface of solar panels. These tiny scratches may seem harmless, but they disrupt sunlight absorption, reducing the overall efficiency of your lights.
Instead, stick to soft microfiber cloths or very soft brushes that gently lift dirt without damaging the panel’s surface. Remember, a smooth panel captures sunlight better than a scratched-up one. When in doubt, err on the side of gentleness—better to clean twice with a soft touch than once with harsh scrubbing that leaves lasting harm.
Don’t Use Harsh Chemicals or Solvents
Another critical mistake is reaching for strong household cleaners, solvents, or abrasive chemical sprays. Products like bleach, ammonia, acetone, or industrial degreasers might seem effective for tough grime, but they can eat away at solar light components. Harsh chemicals can corrode or degrade the solar panels’ protective coatings and crack plastic or rubber seals.
Mild dish soap mixed with water or a diluted vinegar solution is usually all you need. These options clean effectively without risking corrosion or damage. Using eco-friendly, biodegradable cleaners designed for delicate electronics is also a smart choice. Keep things simple: minimal, gentle, and safe cleaners protect your investment.
Avoid Quick Drying in Direct Sunlight to Prevent Water Spots
It’s tempting to wash your solar lights on a sunny day so they dry fast. But rushing this step by cleaning panels mid-afternoon under hot, direct sunlight can actually cause problems. Water droplets left on panels dry too quickly and unevenly, leaving stubborn water spots and mineral deposits behind.
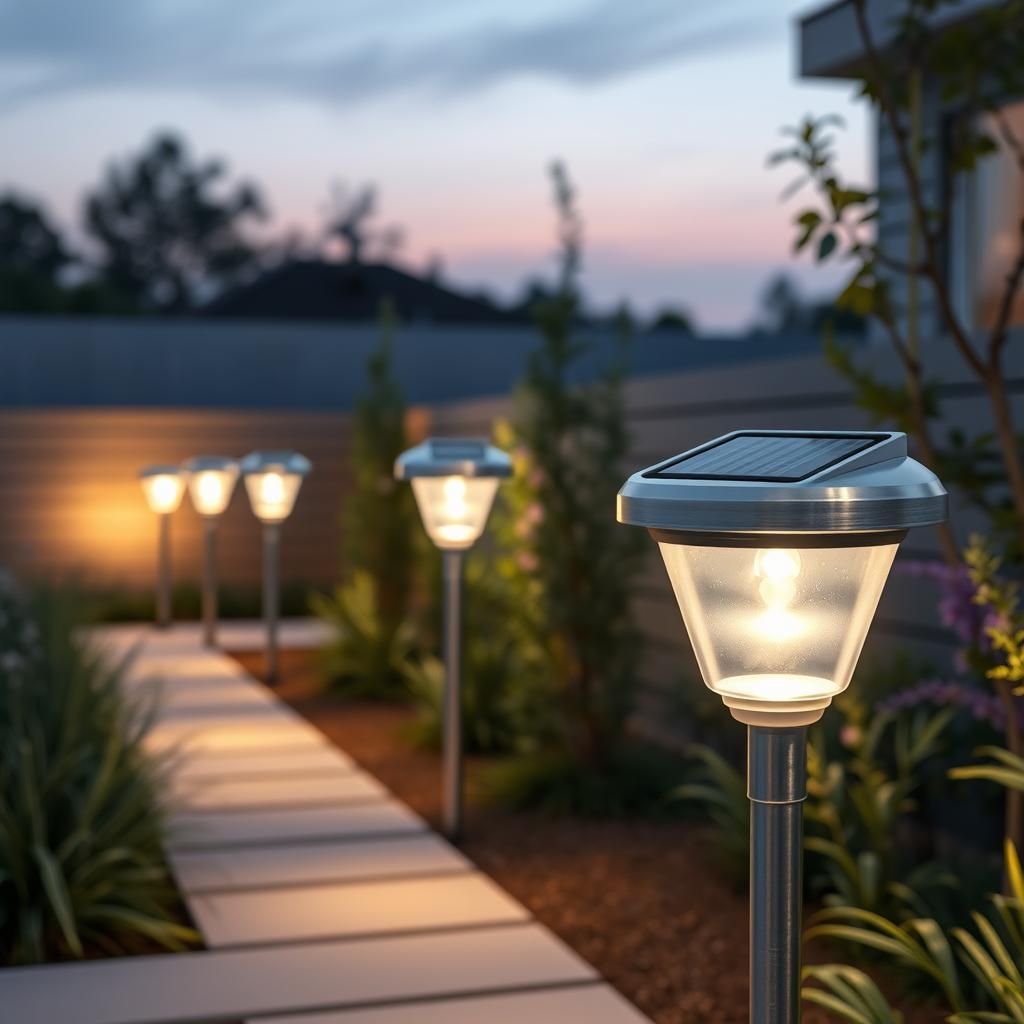
These spots act like tiny blockers, preventing sunlight from fully reaching the cells. Over time, that dulls your lights’ glow. The best time to clean solar lights is either early morning or late evening when the sun’s rays are gentler. This allows moisture to evaporate evenly without forming spots and gives you time to wipe down surfaces thoroughly.
Don’t Forget to Turn Off Your Solar Lights Before Cleaning
Some overlook the importance of switching off solar lights before cleaning. Leaving them on increases the risk of short circuits or electrical faults if water seeps into sensitive areas. Always switch off or disconnect your lights to prevent potential damage and keep yourself safe during maintenance.
Don’t Ignore Batteries and Internal Components
While cleaning exterior panels is crucial, ignoring the internal components like batteries, wiring, and light fixtures can lead to bigger issues. Dirt, corrosion, or moisture inside can cause flickering or complete failure. Whenever you clean, take a peek inside if your lights allow disassembly. Clean off any corrosion gently with a dry cloth and replace old batteries as needed.
Avoid Overzealous Cleaning Frequency
While regular cleaning is key, obsessing over daily or weekly cleanings can cause wear over time. Too much disassembly, frequent scrubbing, or aggressive wiping wears delicate parts prematurely. A clean every two to three months, or more often if environmental factors demand it, balances maintenance without excessive handling.
In short, clean but don’t overclean. Treat your solar lights with gentle care, avoid abrasive tools and harsh chemicals, and give them time to dry naturally. These simple reminders help you maintain peak performance without damaging your solar investment, ensuring bright, reliable lighting night after night.

Resin Elf Reading Solar Lights for Garden Patio Decoration
5. How Cleaning Improves Energy Efficiency
Your solar lights work by soaking up sunlight during the day and converting that energy into a warm, inviting glow at night. But what happens when dirt, grime, or dust build up on those solar panels? It’s like trying to catch raindrops with a clogged funnel—less sunlight gets through, and your lights don’t shine as bright or last as long.
Cleaning your solar lights regularly isn’t just about aesthetics; it directly boosts how well they capture sunlight and convert it into usable energy. Think of a clean solar panel as a clear window where sunlight pours in unhindered, while a dirty panel acts like a foggy glass, dimming the flow.
Removing Dirt Buildup Boosts Sunlight Absorption
Even a thin film of dust, pollen, or water spots can block significant amounts of sunlight from reaching solar cells. Studies show that when solar panels are dirty, their energy output can drop by 10-25 percent—or even more if the buildup is severe. This means your lights may struggle to fully charge during the day, resulting in a noticeably weaker glow in the evening or shorter run times.
By regularly cleaning away dirt before it sticks, you ensure the panels remain clear and ready to soak in as much sunlight as possible. The more sunlight they absorb, the better they charge the internal batteries, and the longer and brighter your solar lights will shine.
Better Charging Means Brighter, Longer-lasting Lights
The heart of every solar light is its battery, which stores the day’s absorbed energy for nighttime use. Dirty solar panels reduce the flow of energy, which means your batteries don’t get fully charged. As a result, your lights burn out quicker or shine less brightly.
Clean panels allow batteries to charge efficiently—and efficiently charged batteries last longer, too. This improvement is especially noticeable when days get shorter or cloudy, as a clean panel maximizes every ray of available sunlight. It keeps your evenings well-lit even when natural light is at a premium.
Prolonging the Lifespan of Your Solar Lights
Cleaning isn’t just about short-term performance—it’s smart maintenance that protects your investment long term. Dirt and grime can trap heat or moisture against the solar cells, causing them to wear out faster. Moisture left to linger can also lead to corrosion of cables, battery contacts, and other delicate components.
Regular cleaning helps prevent these slow-acting damages. When dust and debris are removed consistently, solar panels stay cooler and moisture evaporates more quickly. This reduces the risk of cracks, corrosion, or battery damage and extends the operational life of your solar lights.
Maximizing Return on Your Investment
Solar lights are generally low-maintenance, but neglecting basic cleaning means you get less out of them and might face costly replacements sooner than expected. A little effort with mild soap, water, and a soft cloth every few months can keep your garden sparkling and your solar lights performing at their peak year after year.
In short, clean solar lights translate into more energy collected during daylight, more efficient charging, longer-lasting batteries, and a healthier solar setup overall. The payoff? Brighter nights and fewer hassles.
So, think of cleaning as giving your solar lights a breath of fresh air. Sweeping away dirt and grime clears the path for sunlight, turning your outdoor space into a glowing haven without extra energy costs. With simple upkeep, your lights become a reliable, eco-friendly way to brighten your evenings—efficient, effective, and enduring.

Solar Iron Hanging Light – Waterproof Outdoor LED Lamp
6. Tips for Removing Dirt and Grime from Outdoor Solar Lights
Cleaning your solar lights isn’t just about keeping them looking sharp—it’s about making sure they soak up sunlight effectively and shine bright come nightfall. Dirt, dust, grime, and even bird droppings can build up on these solar panels and light fixtures, blocking precious sunlight and cutting into performance. Fortunately, with a few simple tips and a gentle touch, you can get those lights back to optimal brightness without any fuss.
Use Soapy Water and a Soft Microfiber Cloth for Effective Grime Removal
The easiest, safest way to clean your solar light panels and surfaces is with mild soapy water and a soft microfiber cloth. Mild dish soap mixed with warm water makes for a gentle yet effective cleaning solution that cuts through everyday dirt without harming delicate components.
Dip your microfiber cloth into the soapy water, wring it out so it’s damp but not dripping, and gently wipe the solar panels and other parts of the light. Microfiber’s soft fibers trap dust and dirt, clearing grime without scratching the surface.
If you’re tackling the surrounding housing or fixtures, the same method applies. Avoid soaking any areas tightly sealed or near wiring. A careful wipe is all that’s needed.
Use Gentle Brushes for Textured or Hard-to-Reach Areas
Some solar lights have nooks, grooves, or textured finishes where dust and grime like to hide. For these tricky spots, a soft brush is your best ally. Think of a clean, soft-bristled toothbrush, or an artist’s paintbrush with fine bristles.
These tools let you access cracks and textured surfaces without scratching or damaging plastic or glass. Instead of heavy scrubbing, use light, circular motions to loosen dirt, then wipe away with your damp microfiber cloth. This two-step process is especially useful for fixtures with latticework, or any detailed design that gathers debris.
Clean Panels in Early Morning or Late Evening to Ensure Gentle Drying and Prevent Water Spots
Timing matters as much as technique when cleaning solar panels outdoors. Avoid cleaning when the sun is high and fierce—say mid-day or afternoon. Hot, direct sunlight on wet panels can cause water to dry too fast, forming mineral deposits and water spots that leave a hazy film. These deposits can be just as obstructive as dirt.
Instead, aim for early morning or late evening when the light is softer and temperatures cooler. This timing helps water evaporate evenly, reducing the risk of streaks or spots.
Once you’ve wiped your panels and fixtures clean, allow them to air dry naturally in those cooler periods. If needed, use a dry microfiber cloth to gently pat away residual moisture, again avoiding harsh rubbing.
Additional Practical Tips for Cleaning Outdoor Solar Lights
Avoid High-Pressure Water: Using hoses or pressure washers on solar lights can force water into electrical components, causing damage. Stick to gentle hand cleaning.
Be Mindful with Batteries: If your model allows, remove batteries when cleaning to avoid accidental damage or shorting. Store them safely while you work.
Regular Inspections: As you clean, take a quick look for wear, corrosion, or loose wiring. Early detection allows for timely repairs that keep your lights working longer.
Test After Cleaning: Once everything is dry and reassembled, switch your lights back on to check brightness and functionality. Cleanliness often instantly improves performance.
Keeping your solar lights free from dirt and grime doesn’t have to be a chore. With some gentle soapy water, a soft cloth, and a little patience in the right light, you’ll protect your investment and ensure your garden or pathway glows warmly all night long. A clean solar panel is a happy panel, ready to soak in sunlight and light your way efficiently—no rocket science needed. Just a few mindful habits, and your solar-powered evenings will shine on without interruption.
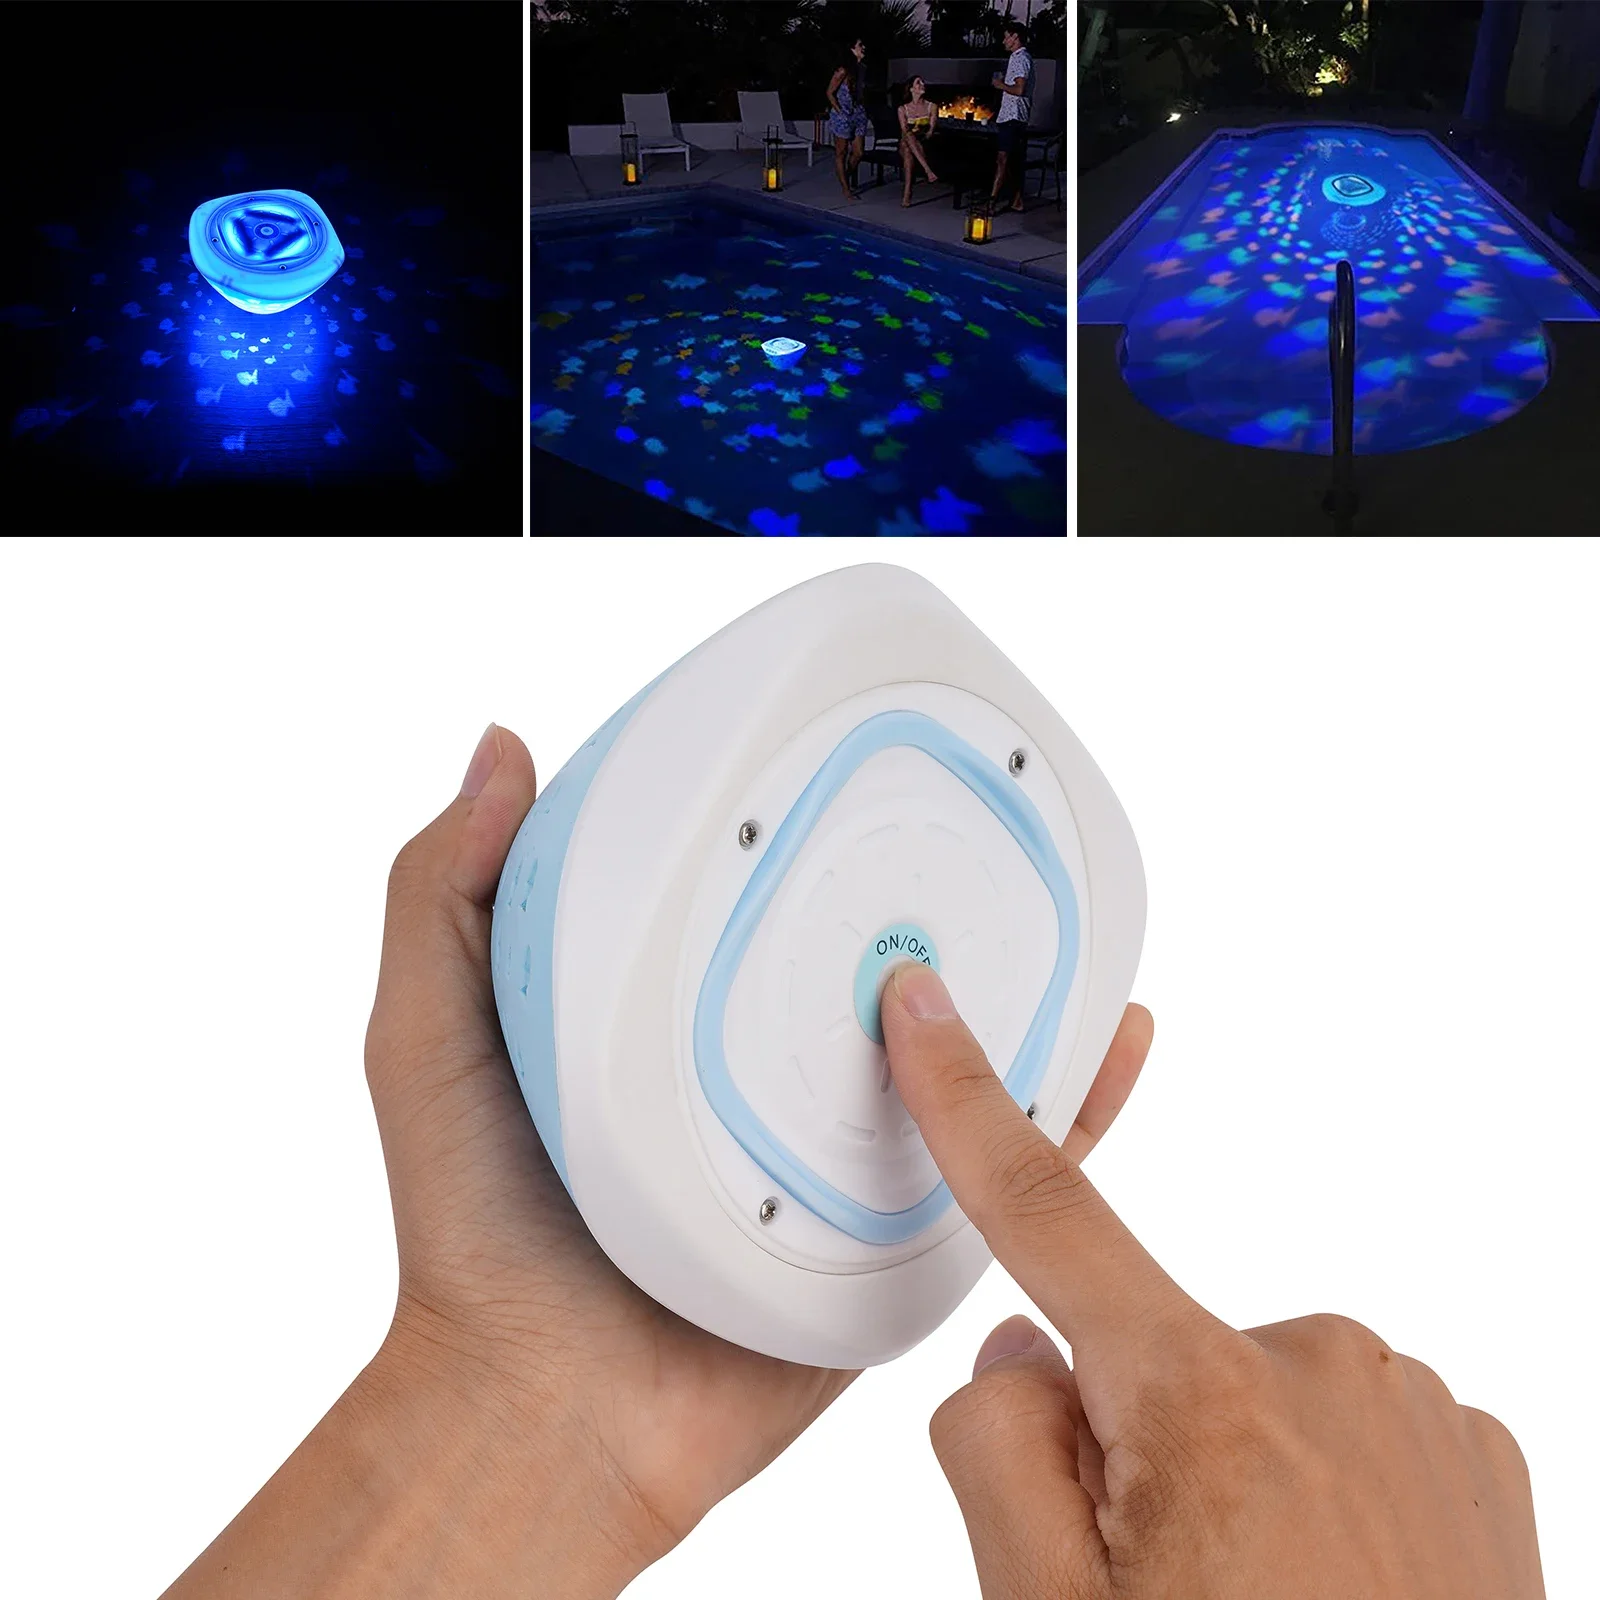
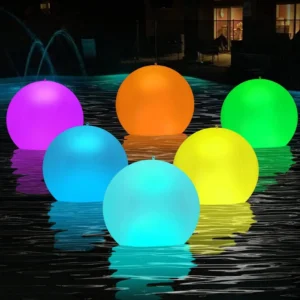
Floating Pool Lights – 4 Colors 5 Modes Waterproof Underwater Lights
7. Safety and Maintenance Recommendations
Cleaning your solar lights might seem straightforward, but treating them with care ensures both your safety and the longevity of your lights. Solar lights combine delicate electrical components with exposure to the elements, so it’s important to approach cleaning and maintenance with a few simple but essential safety practices. Follow these guidelines to keep your lights shining bright and your hands safe.
Always Turn Off and Disconnect Solar Lights Before Cleaning
Before you start wiping down solar panels or fixtures, make sure your solar lights are fully turned off or disconnected from any power source. This step is crucial. Even though solar lights operate on low voltage, moisture combined with electricity can cause shorts or corrosion. Turning off the lights prevents accidental electrical issues and removes the risk of shocks while cleaning.
If your lights have removable batteries, taking those out before you clean takes safety a step further. It also helps protect the batteries from moisture exposure, which can cause damage or leakage. Treat batteries with care—store them in a dry place away from direct sunlight or extreme temperatures during cleaning.
Avoid Excessive Moisture Exposure to Electrical Components
While using damp cloths and mild solutions is fine, it’s important to avoid soaking your solar lights or splashing water where it shouldn’t go. Solar lights are designed to be weather-resistant, but their electrical parts, like wiring and battery compartments, are still vulnerable to water damage.
When you clean, apply liquids sparingly. Focus on wiping surfaces dry instead of spraying or pouring water on the lights directly. Using a spray bottle is okay for applying cleaning solutions, but avoid drenching. Excess water trapped inside the light casing can cause corrosion, short circuits, or malfunction over time.
If you’re disassembling your solar lights for deeper cleaning, ensure every component is fully dry before putting them back together. A little patience waiting for parts to air dry pays off in preventing long-term damage.
Store Batteries Safely If Removed During Cleaning
When you remove batteries, it’s essential to store them correctly. Batteries power the lights, but if mishandled, they can lose charge, corrode, or even leak harmful substances. Keep removed batteries in a cool, dry spot safe from moisture and extreme heat.
Avoid storing batteries loose in damp environments or near metal objects that can cause short circuits. If batteries look swollen, corroded, or damaged, replace them with new ones rather than trying to clean or reuse them.
Conduct Visual Inspection for Damage or Wear During Cleaning
Cleaning is a perfect chance to give your solar lights a thorough once-over. While wiping down panels or fixtures, check for signs of damage like cracks in the glass or plastic, corrosion on battery contacts, loose wiring, or broken components.
Spotting problems early saves you from bigger headaches later. For example, corroded battery terminals can often be cleaned gently with a bit of baking soda and water on a cloth. Loose parts can be tightened to avoid electrical shorts. If you see any serious cracks or damaged solar cells, it might be time to replace that light to keep your garden well illuminated.
By following these safety and maintenance tips, you not only protect yourself from risk but also extend the life and performance of your solar lights. Taking a little extra care during cleaning ensures your lights keep brightening your outdoor spaces efficiently and reliably season after season. It’s a small bit of effort that pays off with steady, warm light and peace of mind.