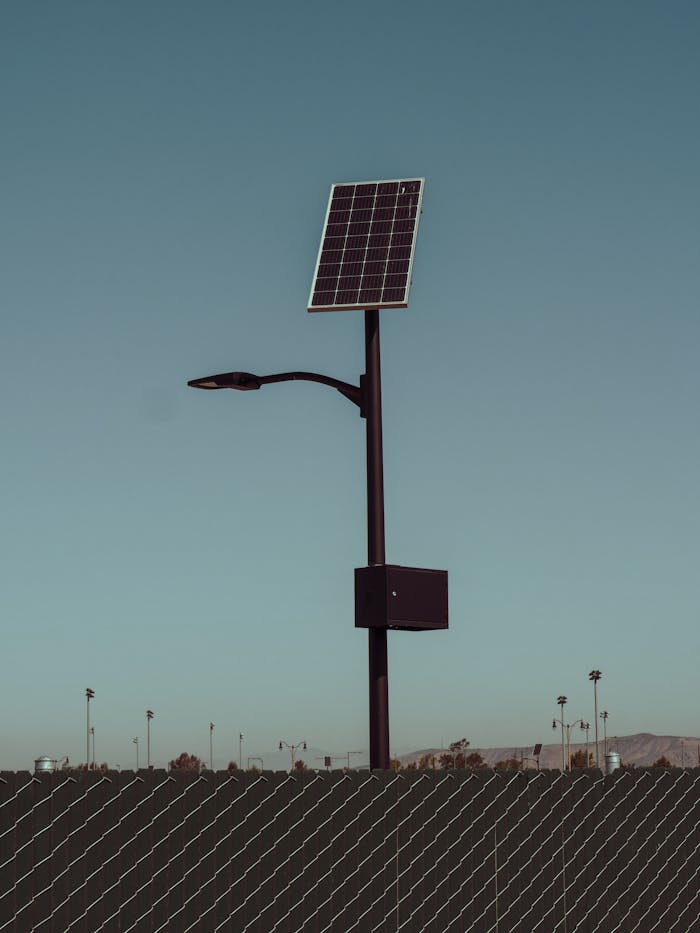
Keeping your solar lights clean is essential for maintaining their brightness and efficiency. Over time, the solar panels on your outdoor lights can become cloudy due to oxidation, dirt, and weather conditions. This buildup not only diminishes their aesthetic appeal but also hinders their ability to charge effectively, leading to reduced brightness and runtime. In this guide, we’ll explore how to clean solar lights effectively using 7 essential tools and 10 easy steps.
7 Tools Required for Cleaning Solar Lights

1.Dish Soap and Mild Detergent
A gentle dish soap is effective for loosening dirt without damaging the internal electronics of your solar lights.

2. Towel or Dry Cloth
A dry towel is crucial for thoroughly drying the solar panel after cleaning to prevent damage.

3. Spray Bottle of Water
This tool helps wet the surfaces, making it easier to clean and rinse.

4. Two Types of Sandpaper (400 and 2000 grit)
Sandpaper is useful for removing stubborn dirt and restoring the solar panel’s clarity.

5. Isopropyl Alcohol
This quick-drying cleaner removes any residual oil or dirt from the solar panel for a polished finish.

6. Painter’s Tape and Cardboard
These materials protect surrounding surfaces while you clean, preventing scratches.

7. Clear Coat Spray
A UV-resistant clear coat spray provides a protective layer, enhancing the solar panel’s appearance and longevity.
10 Easy Steps to Clean Solar Panels


Step 1: Remove the Solar Panel
Carefully detach the solar panel from your solar lights to avoid damaging other components during cleaning.
Step 2: Wipe with Soap Mixture
Using a soft sponge dipped in a warm mixture of dish soap and water, gently wipe the surface of the solar panel. Avoid using abrasive scrubbers that may scratch the glass.
Step 3: Rinse Thoroughly
Rinse the panel with warm water to remove any soap residue, ensuring no lingering dirt attracts more grime later.
Step 4: Dry the Solar Panel
Use a dry towel to thoroughly dry the panel, making sure not to let water seep into the battery compartment or electronic parts.
Step 5: Clean the Remaining Parts
While the solar panel dries, use a sponge to gently clean the base and other components of your solar light.
Step 6: Protect Surrounding Areas
Apply painter’s tape around the edges of the solar panel to safeguard the surface from sandpaper scratches.
Step 7: Sand the Solar Cells
Using 400 grit sandpaper, lightly sand the solar cells to remove any tough debris. Follow with 2000 grit sandpaper for a smooth finish, keeping everything moist during the process.
Step 8: Apply Isopropyl Alcohol
For a final touch, spray a small amount of isopropyl alcohol on the solar panel. This will effectively remove any leftover oil or dirt.
Step 9: Spray Clear Coat
Once the panel is clean and dry, use painter’s tape to mask off surrounding areas and spray a clear coat to protect the surface. Allow it to dry completely.
Step 10: Clean Battery Terminals
Lastly, check the battery terminals for any white corrosion. Remove any buildup using sandpaper and replace batteries as needed, typically every 3-4 years.
Conclusion
Regularly cleaning your solar lights not only enhances their appearance but also extends their lifespan and performance. Following these simple steps will ensure that your solar lights remain bright and efficient, providing you with reliable illumination year after year. Remember, maintaining solar panel cleanliness is a key aspect of solar light care!

