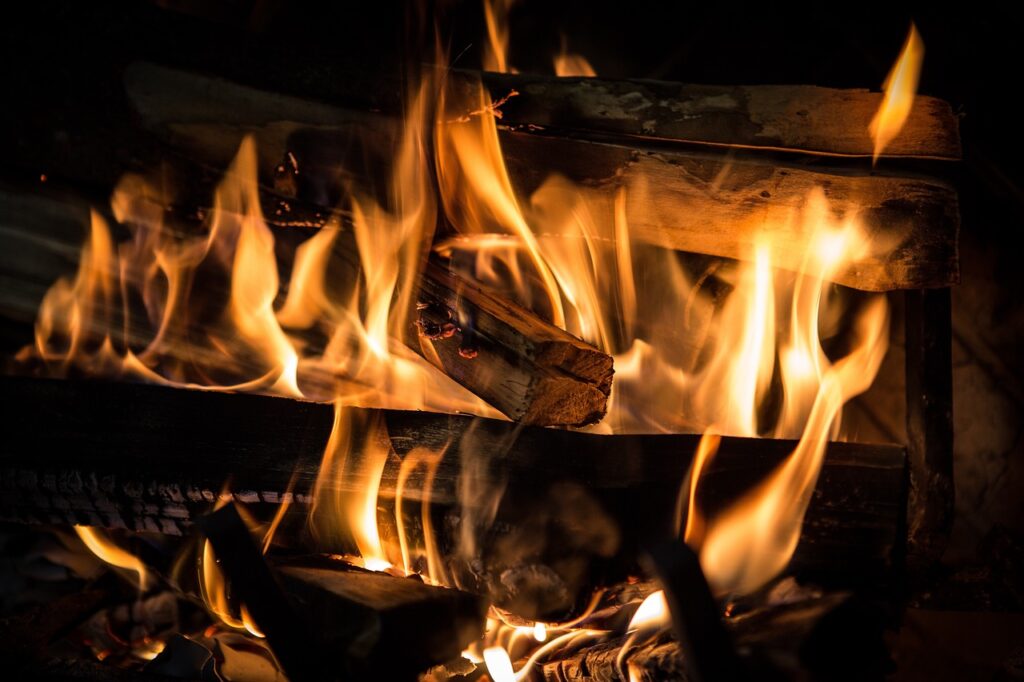
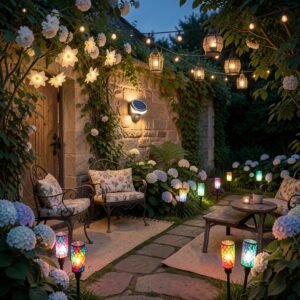
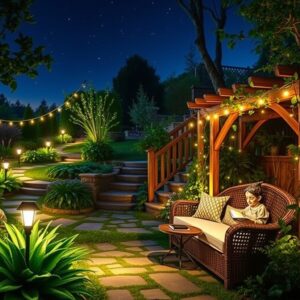
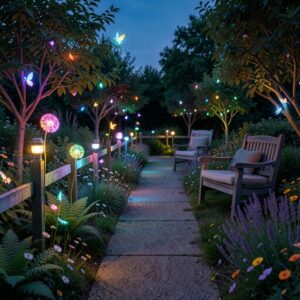
Creating the perfect atmosphere around your outdoor fire pit or fireplace is essential for enjoyable gatherings. Effective fireplace lighting design enhances safety, visibility, and ambiance, making your outdoor space inviting after dark.
Principles of Lighting
When planning your lighting design for outdoor fire pits and fireplaces, several key factors can significantly influence the effectiveness and ambiance of your space:
Purpose of the Space: Consider how you intend to use the area. Are you looking to create a cozy gathering spot for evening relaxation, or do you want a lively atmosphere for entertaining guests? The purpose will dictate the type and intensity of lighting you choose.
Lighting Types: Understanding different lighting types—ambient, task, and accent—is crucial. Ambient lighting provides overall illumination, while task lighting focuses on specific areas, like pathways or seating. Accent lighting highlights features, such as the fire pit or surrounding landscaping.
Light Color and Temperature: The color temperature of your lights can impact the mood. Warmer tones (2700K-3000K) create a cozy, inviting atmosphere, while cooler tones (4000K+) offer a more modern, vibrant feel. Choose colors that enhance the natural elements of your outdoor space.
Scale and Proportions: Match the size and scale of your lighting fixtures to the surrounding environment. Large fixtures can overwhelm small spaces, while tiny lights may get lost in expansive areas. Strive for a balance that complements the overall design.
Placement and Direction: The placement and direction of lights can dramatically affect visibility and ambiance. Uplights can draw attention to trees, while downlights create a warm glow over seating areas. Experiment with angles to minimize glare and maximize light diffusion.
Safety and Accessibility: Ensure pathways and seating areas are well-lit to enhance safety and ease of movement. Avoid placing lights where they may create hazards or obscure important features, like steps or edges.
Integration with Landscape: Your lighting should harmonize with the natural surroundings. Choose fixtures and placements that enhance existing features without detracting from them. Consider using fixtures that blend seamlessly with the landscape to maintain a cohesive look.
Energy Efficiency: Opt for energy-efficient lighting solutions, such as LED fixtures or solar-powered lights. These options not only reduce energy costs but also lower maintenance needs, allowing for a more sustainable outdoor lighting design.
Lighting Options
1. Strip Lights: Benefits and Placement Around Fire Pits
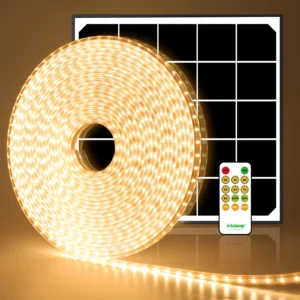
LED strip lights are versatile and energy-efficient, making them an excellent choice for highlighting fire pits. These lights can be installed under stone borders or along pathways, providing a subtle glow that outlines the fire pit area. Their benefits include easy installation, customizable lengths, and the ability to create dynamic lighting effects. For optimal placement, consider installing them at ground level to illuminate the stonework or along the edge of seating areas to guide guests safely. Additionally, strip lights can enhance visibility without overwhelming the natural ambiance created by the fire.
2. String Lights: Soft Lighting Effects for Ambiance
String lights add a whimsical touch to any outdoor space, offering a soft, inviting glow that enhances the atmosphere around fire pits. These lights come in various styles, from classic bulb designs to modern fairy lights, allowing you to choose an aesthetic that complements your space. Ideal for draping over trees, fences, or pergolas, string lights create a magical ambiance that encourages relaxation and socialization. The evenly distributed bulbs provide consistent lighting, making them perfect for illuminating seating areas without creating harsh shadows or glare.
3. Uplights: Enhancing Surrounding Features Without Direct Illumination
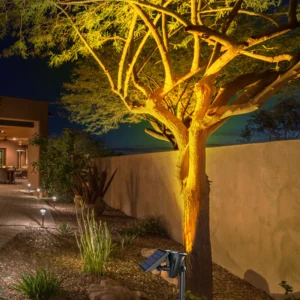
Uplighting is a powerful technique for drawing attention to trees, walls, or architectural features surrounding a fire pit. By directing light upward, uplights create a dramatic effect that enhances the beauty of natural elements without directly illuminating the fire. This method creates depth and dimension in the landscape, making the space feel more inviting. For effective use, place uplights at the base of trees or tall structures to highlight their height and texture. Additionally, wall wash lights can be used to illuminate stone walls, adding warmth and character to your outdoor setting.
4. Downlights: Creating Warmth and Depth in Seating Areas
Downlighting is an excellent way to provide warmth and comfort in seating areas around fire pits. By installing downlights on overhead structures like pergolas or awnings, you can cast a soft light downward, mimicking natural moonlight. This lighting technique not only enhances visibility but also creates an intimate atmosphere that encourages gatherings. When positioning downlights, focus on areas where guests will be seated, ensuring they provide adequate illumination without causing glare. The gentle, downward light adds a cozy touch, making evenings around the fire more enjoyable.
By carefully considering these lighting options, you can transform your outdoor fire pit area into a beautifully illuminated space that enhances both functionality and aesthetics.
Highlighting Fire Pits
In open outdoor spaces, effectively highlighting fire pits requires a thoughtful blend of uplights and downlights. This combination enhances visibility while maintaining a cozy atmosphere. Here are several techniques to achieve this balance:
1. Strategic Placement of Uplights
Uplights can be used to accentuate the natural features around your fire pit, such as trees, shrubs, or stone walls. Position uplights at the base of these elements to create a dramatic silhouette against the night sky. This not only draws attention to the fire pit but also adds depth to the landscape, making the area feel more inviting. For larger trees, consider using multiple uplights to ensure even illumination and to highlight the tree’s full height and structure.
2. Layering Light with Downlights
Downlights can complement uplighting by providing a warm, diffuse glow over seating areas and pathways. Install downlights in overhead structures, such as pergolas or awnings, to cast soft light downward. This creates a welcoming environment where guests can comfortably gather. Ensure the downlights are aimed at seating areas, providing enough light for conversation without being overly bright. The combination of uplighting and downlighting creates a layered lighting effect that enhances the overall ambiance.
3. Creating Visual Pathways
Use uplights along pathways leading to the fire pit to guide guests safely and elegantly. This technique not only illuminates the path but also enhances the landscape, making it more visually appealing. By strategically placing uplights on either side of the path, you create a framed effect that directs attention toward the fire pit. Consider using solar-powered uplights for an eco-friendly option that requires minimal installation effort.
4. Balancing Light Intensity
When highlighting a fire pit in an open space, it’s important to balance the intensity of uplights and downlights. Too much brightness can overwhelm the natural beauty of the fire and surrounding area. Aim for a harmonious relationship where the light levels enhance visibility while allowing the fire’s glow to shine through. Adjust the brightness of your fixtures or use dimmable options to achieve the desired effect.
5. Incorporating Decorative Elements
Enhance the visual interest of your fire pit area by incorporating decorative elements that can also be illuminated. For example, consider placing uplights on planters, sculptures, or stone features around the fire pit. This not only highlights the fire pit itself but also creates an engaging visual narrative throughout the space. Use downlights to highlight seating arrangements or dining areas, making them inviting and functional.
6. Seasonal Adaptability
Plan your lighting design with seasonal adaptability in mind. For instance, in autumn, you may want to highlight colorful foliage around the fire pit with uplights, while in summer, downlights can create a starry ambiance that complements outdoor gatherings. By adjusting your lighting techniques with the changing seasons, you can maintain an inviting atmosphere year-round.
Light Intensity Management
Effective light intensity management is essential for creating a comfortable and inviting outdoor space around fire pits. Striking the right balance between brightness and ambiance ensures safety while enhancing the overall experience. Here are key strategies to achieve optimal light levels:
1. Understanding Light Levels
Different areas around a fire pit may require varying light intensities. For instance, pathways and seating areas need adequate illumination for safety, while the fire pit itself serves as a natural light source. Understanding these needs allows you to tailor your lighting design accordingly, ensuring each space is appropriately lit.
2. Using Dimmable Fixtures
Incorporating dimmable lighting fixtures is one of the most effective ways to manage light intensity. Dimming capabilities allow you to adjust brightness based on the time of day, activity, or desired mood. For example, during a casual gathering, softer lighting can enhance relaxation, while brighter settings may be more appropriate for cooking or socializing.
3. Layering Light Sources
Utilizing a combination of uplights, downlights, and ambient lighting can help create a balanced atmosphere. Layering different types of lighting allows you to control intensity and focus light where needed. For instance, uplights can highlight surrounding features while downlights provide direct illumination for seating areas, striking a harmonious balance.
4. Color Temperature Considerations
The color temperature of your lighting also affects perceived intensity. Warmer tones (2700K-3000K) create a softer, more inviting ambiance, while cooler tones (4000K+) may feel harsher and more clinical. Choosing the right color temperature for your space enhances comfort and can influence how bright the area feels.
5. Positioning and Angling Fixtures
The positioning and angling of light fixtures can dramatically impact how light is perceived. Aim downlights to cast soft light directly onto seating areas while keeping uplights angled to avoid harsh glare. Properly positioning fixtures minimizes shadows and creates a more balanced distribution of light.
6. Monitoring Surrounding Reflective Surfaces
Consider how nearby surfaces, such as walls, decks, or plants, reflect light. Reflective surfaces can amplify brightness, making a space feel brighter than it actually is. Pay attention to these elements when planning your lighting layout to avoid over-illumination and ensure comfort.
7. Testing and Adjusting
After installation, take time to test your lighting setup during different times of day and in various weather conditions. Observing how light interacts with the environment allows you to make necessary adjustments. This might include repositioning fixtures, changing bulb types, or altering the intensity to enhance the overall experience.
8. Seasonal Adjustments
As seasons change, so do natural light conditions. In the summer, longer daylight hours may allow for softer evening lighting, while winter may require brighter settings to combat early darkness. Being adaptable to seasonal changes ensures that your outdoor space remains comfortable and inviting throughout the year.
Hiding Light Sources
Effectively hiding light sources is essential for creating a seamless and visually appealing outdoor lighting design. When light fixtures are integrated into the environment, the focus shifts to the illumination effects rather than the fixtures themselves, enhancing the overall ambiance. Here are several strategies to achieve this:
1. Utilizing Natural Features
Leverage existing natural features, such as trees, bushes, and rocks, to conceal lighting fixtures. For example, positioning uplights at the base of a tree can illuminate its trunk and canopy while keeping the light source hidden. Similarly, embedding fixtures within flower beds or among shrubs can provide soft illumination without drawing attention to the lights themselves.
2. Selecting Low-Profile Fixtures
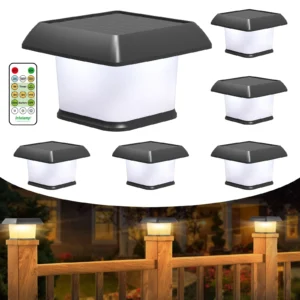
Opt for low-profile lighting fixtures that blend seamlessly with the landscape. Fixtures designed to be flush with the ground or those that sit low to the ground are less likely to obstruct sightlines or attract attention. Solar path lights, for instance, can be placed along walkways without overpowering the visual aesthetics of the garden.
3. Using Shrouds and Baffles
Install light shrouds and baffles to reduce glare and conceal light sources. These accessories can help direct light in a specific direction while minimizing the visibility of the fixture. For downlights, a shroud can shield the source from view, creating a soft, ambient glow. Hex baffles are also useful for reducing direct glare from uplights and can enhance the visual comfort of the space.
4. Creating Layered Plantings
Incorporate layered plantings around light fixtures to effectively camouflage them. Taller plants can be placed behind shorter ones, providing a natural screen that hides fixtures from view. This strategy not only conceals the lights but also enhances the overall aesthetics of the landscape, creating a lush and inviting environment.
5. Designing Concealed Lighting Solutions
Consider built-in or recessed lighting designs that allow fixtures to be hidden within architectural elements. For example, recessed downlights in a pergola or awning can provide focused illumination without exposing the light source. Similarly, lighting integrated into stone walls or pathways can create a clean, polished look while maintaining a sense of subtlety.
6. Utilizing Light Color and Intensity
Softening the intensity of the light can also help to conceal the source. Warmer color temperatures and lower brightness levels create a more inviting atmosphere and reduce the harshness of visible light fixtures. Using dimmable options allows you to control brightness and create a softer effect that blends into the environment.
7. Planning for Seasonal Changes
Consider how seasonal changes affect visibility of light sources. During winter, for instance, bare trees and shrubs may expose fixtures that were previously hidden. Plan your planting and lighting designs with this in mind, using evergreens or other seasonal plants to maintain concealment throughout the year.
8. Testing Visibility from Various Angles
Once your lighting is installed, assess how the fixtures look from different vantage points. Walk around the area during the day and at night to see if any light sources are still visible. Adjust their positioning or add additional greenery as necessary to ensure that the fixtures remain hidden while providing adequate illumination.
Safety Considerations
Ensuring safety in outdoor spaces, particularly around fire pits, is paramount. Properly maintaining safe distances between lighting fixtures and fire sources can prevent accidents, reduce the risk of fires, and promote a comfortable environment. Here are essential considerations to keep in mind:
1. Understanding Material Limitations
Different materials have varying tolerances to heat. Lighting fixtures made from durable materials, like brass or stainless steel, can withstand higher temperatures than plastic or wood. When planning your lighting design, choose fixtures made from heat-resistant materials that can endure the heat generated by the fire pit, and position them accordingly.
2. Establishing Minimum Distance Guidelines
A general rule is to maintain at least a one-foot distance between lighting fixtures and the fire pit, particularly if the fire pit is constructed from materials that retain heat, like stone. This distance may need to be increased for fixtures that generate more heat or for open flames. Always refer to local codes and manufacturer recommendations to determine safe distances.
3. Assessing Heat Sources
Evaluate the type of fire pit or heat source you are using. Gas fire pits typically produce less heat than wood-burning pits, allowing for slightly closer placement of lighting fixtures. However, wood-burning fires generate intense heat and unpredictable flames, necessitating greater caution in fixture placement.
4. Avoiding Direct Line of Sight
Position lights to avoid direct exposure to flames. Fixtures should be angled or shielded to ensure that light beams do not shine directly onto the fire. This not only protects the fixtures but also enhances the visual comfort of the space, reducing glare for guests seated nearby.
5. Planning for Wind and Heat Movement
Wind can influence the behavior of flames and heat. Consider the predominant wind direction in your area and position fixtures accordingly to avoid direct exposure to flames or heat radiating from the fire pit. Lighting should be placed at angles that prevent overheating and ensure safety, especially on windy days.
6. Regular Maintenance and Inspection
Conduct regular inspections of your lighting fixtures to ensure they remain in good condition and free from damage. Check for signs of heat exposure, such as discoloration, melting, or warping, and replace any damaged fixtures immediately. Keeping fixtures well-maintained contributes to safety and longevity.
7. Using GFCI Outlets and Waterproof Fixtures
For electric lighting systems, use Ground Fault Circuit Interrupter (GFCI) outlets to reduce the risk of electrical shock, particularly in outdoor environments where moisture may be present. Ensure that all fixtures are rated for outdoor use and are adequately protected from the elements, including water and heat exposure.
8. Creating Clear Pathways
Ensure that all pathways leading to the fire pit and surrounding seating areas are well-lit to prevent tripping hazards. Consider using low-level lighting or pathway lights to illuminate these areas without getting too close to the fire source. Well-lit pathways enhance safety while maintaining an inviting atmosphere.
9. Educating Guests on Safety Protocols
Inform guests about fire safety protocols and the importance of maintaining a safe distance from the fire pit and surrounding lights. Encouraging awareness can help prevent accidents and ensure everyone enjoys the outdoor space responsibly.
Conclusion
Implementing thoughtful fireplace lighting design can transform your outdoor space into a cozy retreat. By incorporating various lighting options and adhering to safety guidelines, you can create an inviting atmosphere that encourages gatherings around your fire pit, whether the fire is lit or not. Embrace the beauty of outdoor living with well-planned lighting!

