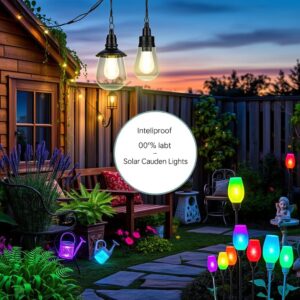


Double Head Solar Light Bulb – Outdoor & Indoor Solar Pendant Lamp
Understanding Common Issues with Solar Lights
Picture this: your garden bathed in soft twilight, but those cherished solar lights stubbornly flicker, glow dimly, or refuse to come alive altogether. It’s a familiar scene many of us face, and understanding what’s going on beneath that gentle glow is the first step to bringing your outdoor sanctuary back to life.
Solar lights, though charmingly simple, encounter a handful of common troubles. Dimness often points to tired rechargeable batteries losing their charge-holding mojo after years of faithful service. Flickering, that maddening intermittent glow, usually signals loose wiring or corrosion—tiny saboteurs that break the flow of solar magic. Then there’s the outright failure, where the light remains stubbornly dark despite a sunny day, often a blend of exhausted batteries, dirty panels, or faulty sensors playing hard to get.
Regular maintenance isn’t just a suggestion—it’s the secret to longer-lasting enchantment. Think of it as a gentle tending, a routine check to sweep away dust on those solar panels, tighten a loose wire, or swap out a weary battery before it gives up the ghost. These small acts keep your solar lights dancing with reliable grace night after night.
Safety matters just as much as sparkle. Before diving into repairs, make sure your hands are dry, and slip on gloves to shield against any sharp edges or tiny electrical shocks hiding inside. Always work in dry conditions—not after rain or in heavy dew. Treat those delicate solar parts like treasures; a careful touch keeps both you and your lights safe.
In essence, most solar light woes are solvable puzzles. Recognizing dim, flickering, or silent lamps as signals from your garden’s night-time guardians lets you jump in with simple fixes. With a bit of attention and care, your solar light garden will soon glow as warmly and steadily as you remember, turning your evenings into a cozy, solar-powered retreat.
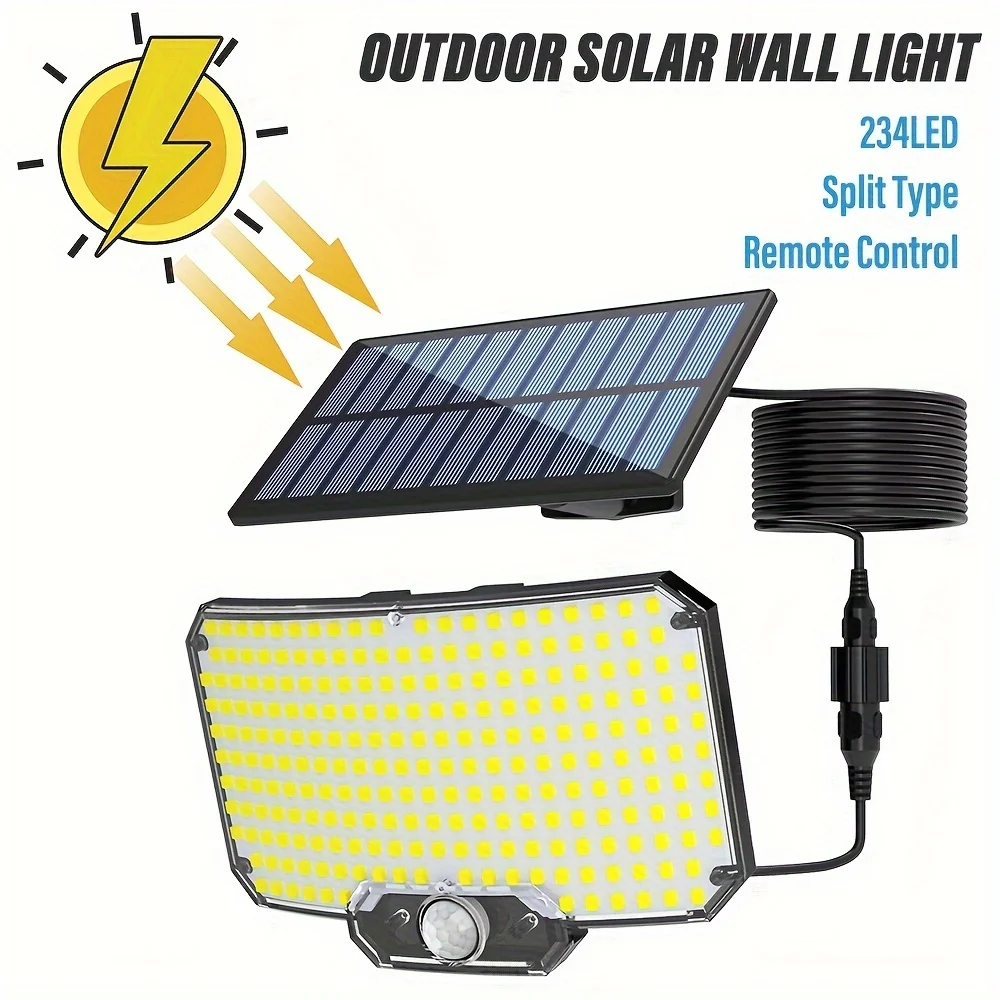
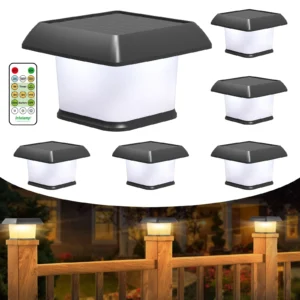
234 LEDs Solar Wall Lights with Remote Control – 3 Modes, IP65
Replacing Rechargeable Batteries
When your solar lights begin to lose their sparkle—maybe the glow dims, flickers unpredictably, or fades out completely come nightfall—it’s a clear nudge from your garden’s magical helpers that the rechargeable batteries need attention. These batteries, quietly soaking up sunlight day after day, typically last about two to three years. Past that threshold, they start to falter, whispering tales of their fading charge. Replacing them at the right time breathes new life into your solar luminaries, restoring their enchanting glow and extending their garden charm.
Choosing the right replacement batteries is simpler than it sounds. Most solar garden lights rely on rechargeable nickel-metal hydride (NiMH) or nickel-cadmium (NiCd) batteries, often AA or AAA size. These battery types are tailored to endure the repeated cycles of charging and discharging that solar lights demand. When picking replacements, quality matters. Opt for trusted brands that promise durability and steady performance—your garden deserves nothing less. Local electronics stores, specialty battery shops, or reputable online retailers offer a good range of these eco-friendly power sources.
Ready to swap the batteries and revive your solar stars? Gather a small toolkit: a screwdriver to open the light casing and gloves to keep everything clean and safe. Start by gently unscrewing the housing—most solar lights hide their batteries beneath panels or small compartments. Carefully remove the old batteries, noting their orientation so you can slide the fresh ones in exactly the same way. Securely close the casing, then step outside to test. If the panel basks in sunlight, your solar light should soon flicker back to glowing life, casting a warm, renewable shimmer across your nightly garden retreats.
Replacing batteries might be the simplest fix with the biggest impact—an easy act that turns a tired, dim solar light back into a glowing beacon of sustainable beauty, illuminating your outdoor oasis night after night.

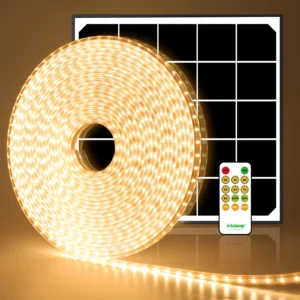
30 LEDs Solar Outdoor Fairy Lights – IP65 Waterproof
Cleaning Solar Panels for Optimal Performance
Solar panels are the heart of your solar lights—they soak up the sun’s energy by day and gift your garden with a cozy glow by night. But just like a window fogged with grime dims the sunlight inside a room, dirt and debris can quietly rob your solar panels of their charging power. A dusty, smudged solar panel means your garden’s radiant magic flickers or fades too soon. So keeping those panels clean isn’t just about looks; it’s the secret to long-lasting, bright nights.
Why Clean Solar Panels Matter
Imagine your solar lights as tiny sun-catchers waiting to drink in every ray. When leaves, dust, bird droppings, or pollen settle on their surface, it’s like pulling down a curtain at dusk. The battery receives less sunlight, reduces its charge, and your once-glowing pathway dims. Regular cleaning could boost your panel’s efficiency by a surprising margin, extending the life of your solar lights without you lifting a finger after the tidy-up.
Experts suggest at least a gentle cleaning every few weeks during heavy pollen seasons or after dusty stretches. If your panels sit beneath overhanging trees or near busy roads, they’ll need a bit more love. Remember, a clean solar panel is a happy solar panel, sparkling with untapped energy.
Effective Cleaning Methods
Keep it simple and gentle. Start with a soft cloth or sponge dipped in warm water mixed with a small amount of mild soap. This combo cuts through grime without scratching or clouding those delicate glass surfaces. For tricky corners and crevices, a soft toothbrush works wonders, nudging away what water alone might miss.
If you want a quick swipe, rubbing alcohol on a clean cloth can help remove stubborn residues, but avoid any abrasive materials or harsh chemicals—they’re the villains that can damage your panels’ coating, turning your rescue mission into a costly error.
Practical Tips for Maintenance
Timing your cleaning matters. Choose early morning or late afternoon when the panel’s surface is cool to the touch, reducing the risk of cracking glass from sudden temperature shifts or accidental burns from sun-heated glass. While you’re there, give your panels a quick once-over for cracks, nicks, or loose wiring. Catching small issues early keeps bigger problems at bay.
Cleaning your solar panels is a simple act that paints your garden with a brighter, more reliable glow. With just a little attention—soft cloth, warm water, and steady hands—you can revive your solar lights to their full enchanting sparkle, night after night.
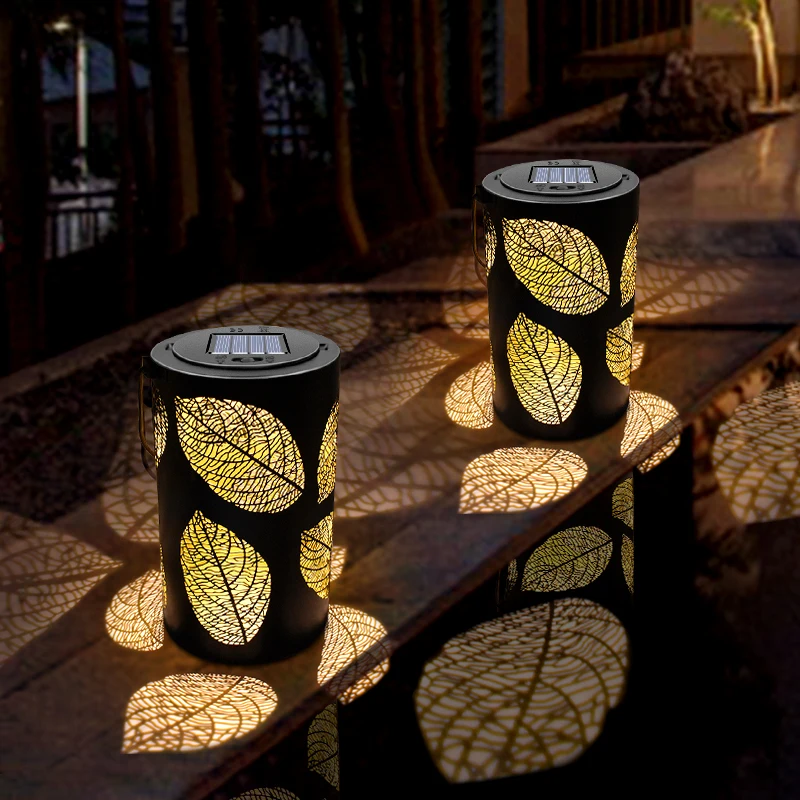
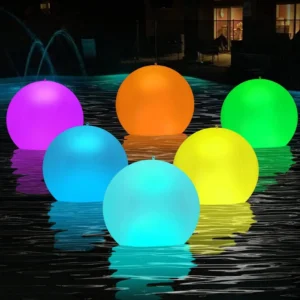
Metal Carving Leaf Solar Lights Outdoor LED Garden Lantern
Checking and Repairing Solar Light Wiring
When your solar lights start flickering, acting spasmodic, or simply refuse to glow, the wiring might be whispering a tale of trouble. Often overlooked, wiring issues are a common culprit behind these frustrating behaviors—think corroded contacts, loose connections, or broken wires hidden beneath the housing. Tackling these problems with a straightforward, practical approach can breathe new life into your solar lighting without the need for full replacements.
Common Wiring Issues
Wiring woes tend to disguise themselves as flickering lights or intermittent power. Corrosion creeps in where metal meets moisture, causing poor contact. Loose screws or connectors can rattle free over time, breaking the steady flow of electricity. And sometimes, a wire might break unseen, like a secret sabotage just beneath the surface, leaving your light dark when night falls.
Tools Needed for Wiring Repairs
Ready your basics: a reliable screwdriver set to open and secure the casing, a multimeter to reveal the hidden truth of continuity and voltage, wire strippers to prepare any damaged wires, and if you’re keen, a soldering kit to build strong, lasting connections. Gloves are a good idea—both for safety and to keep oily fingerprints away from sensitive components.
Diagnosing Wiring Problems
Start by carefully removing the light’s casing. Look closely under that soft glow of sunshine or warm lamp light to spot corrosion—greenish or whitish crystal-like build-ups signal trouble. Use your multimeter to test continuity along wires and across contacts; no beep or reading often means a break or bad connection. Voltage checks can confirm if power is reaching the solar panel and battery terminals properly. Trust your tools here—they tell the wiring’s story better than the eye alone.
Repair Techniques
Clean corrosion by gently scrubbing affected contacts with a soft brush or using a cotton swab dipped in vinegar or isopropyl alcohol. Once dry, tighten any loose screws or connectors to restore firm contact points. For broken wires, strip back the insulating sheath a bit, twist the wires cleanly, and solder the connection carefully to ensure a solid, conductive bond. Insulate exposed wires again with electrical tape or heat shrink tubing if available.
After reassembling, test your solar light in the sun. You should see it soaking up daylight and shining cheerfully come nightfall. With attentive wiring care, those solar lights will once again transform your space into a subtly lit haven, glowing gently with sustainable warmth.
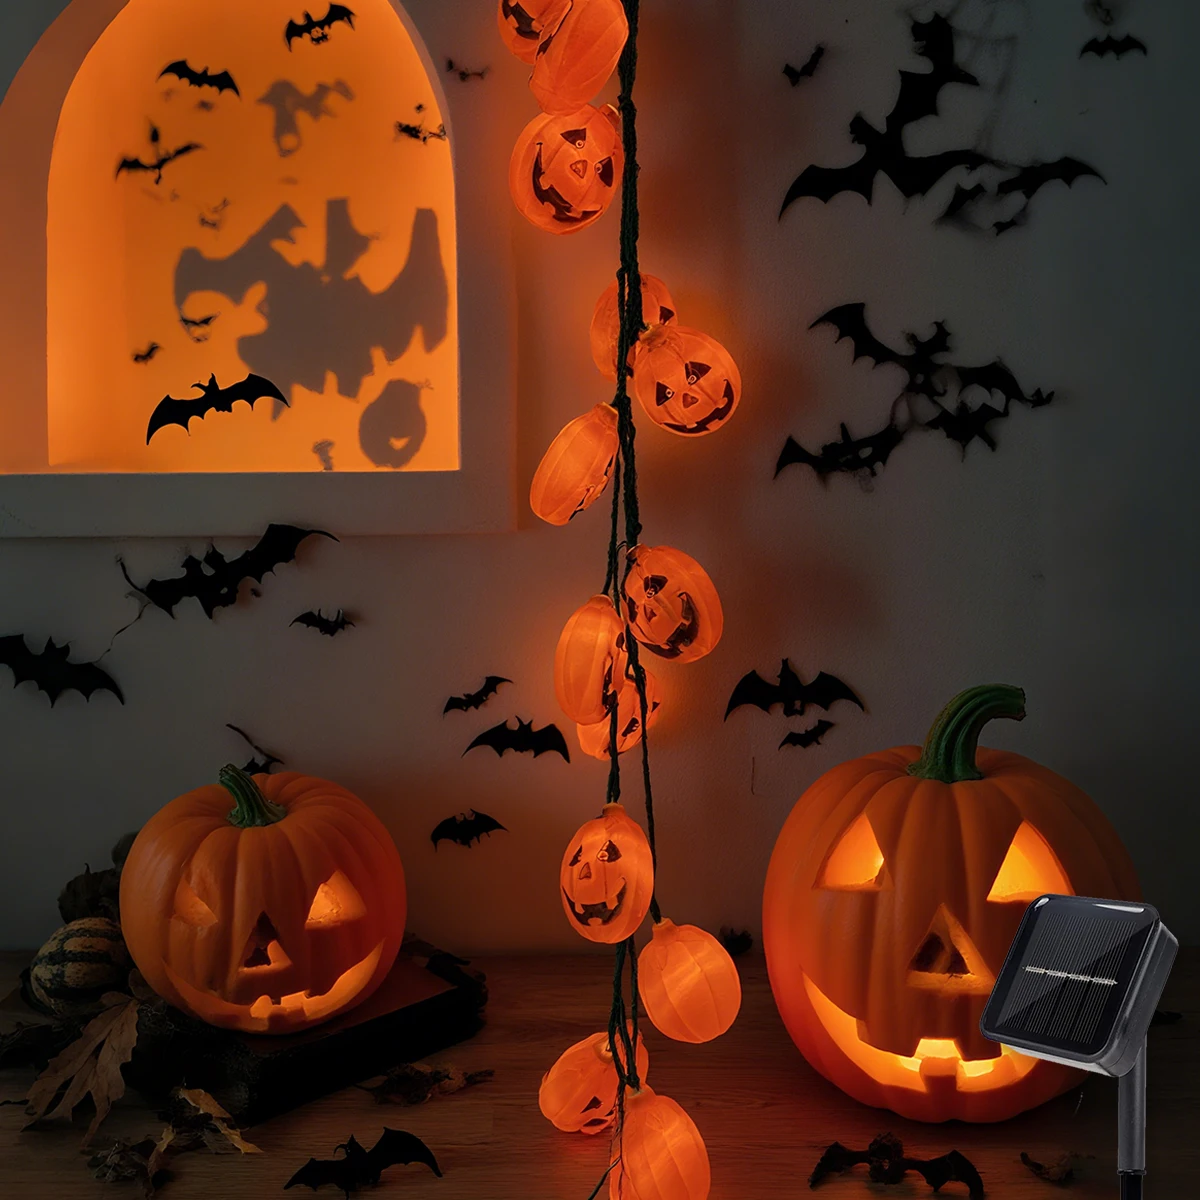
Halloween Pumpkin String Light – 20 LEDs, 5m, Solar-Powered
Repairing Garden Solar Lights
When your garden solar lights sulk in the shadows instead of shining bright, it’s time to take a closer look inside. Repairing these charming beacons isn’t rocket science, but it does call for a bit of patience and a gentle touch. Start by carefully opening the light housing. Most solar garden lights are designed for simple access, but you’ll want to avoid forcing or prying with excessive pressure—one wrong move can damage the fragile casing or internal parts. Use a small screwdriver if needed, and keep track of screws or clips as you gently separate the housing.
Once open, a hidden world of dust, bugs, and creeping debris may greet you. It might sound trivial, but trapped grime can block the solar panel or muddy electrical contacts, sapping your light’s potential. Take a soft brush or dry cloth to sweep away the dirt, and if needed, a gentle wipe with a slightly damp cloth can clear more stubborn spots—just be sure not to soak any electronics. A clean canvas inside sets the stage for the repairs ahead.
Now’s the time to inspect the core components—LED bulbs and circuit boards. LEDs are generally hardy, but occasionally one may burn out or flicker due to damage or age. A damaged LED can often be replaced if you can find the matching part, though some lights may require swapping the entire LED unit. Check the circuit board for obvious damage like burnt spots, broken solder joints, or corrosion. If the board looks compromised, it may be easier and safer to replace the whole light unit rather than attempting complex repairs.
After a thorough clean and any necessary part swaps, it’s time to reassemble. Make sure everything pops back into place snugly and that no wires are pinched or loose. A loose connection inside can mean the difference between a garden glowing and a path dark as midnight. Place the housing back carefully and tighten all screws without overdoing it.
Finally, test your handiwork by setting the light outdoors in a sunny spot. Wait for dusk and watch as the solar light springs to life once more. With a bit of care and attention, you’ve breathed new life into your garden’s glowing guardians—ready to shimmer through many magical evenings ahead.

Solar Pendant Lights – Indoor & Outdoor Waterproof Illumination
Troubleshooting Solar Light Sensors
Picture this: your garden lights linger stubbornly dark as night falls, or blink erratically under the midday sun. The culprit often lies hidden in the sensor—the little guardian deciding when to light your path. When these sensors falter, your solar lights lose their magic, leaving your outdoor space without its enchanting glow. Understanding these common sensor problems is your first step to restoring that sparkle.
One common issue is the sensor’s refusal to activate the lights after dusk. If your solar lights sit silent under moonlight or flicker unpredictably during daylight, it could signal a sensor or controller glitch. These electronic eyes sometimes misread signals or get stuck, confused about when to switch on or off. Dust, dirt, or aging components might cloud their judgment, causing your lights to misbehave.
The good news? Resetting the solar light sensor is straightforward and often brings things back to their harmonious rhythm. Begin by switching your solar lights off and gently disconnecting the rechargeable batteries. Let the system rest for several minutes—this pause clears any electronic cobwebs lodged in the sensor’s tiny circuits. When you reconnect the batteries and turn the lights back on, it’s like giving your garden’s night watchers a fresh start, ready to perform their duty flawlessly.
Another subtle but crucial trick is repositioning your solar lights to dodge artificial light interference. Nearby porch lights, street lamps, or even garden fixtures might send false twilight signals, tricking sensors into shutting off prematurely or never turning on at all. By moving solar lights away from these competing luminaires, you create a peaceful environment where sensors can read natural dusk and dawn unambiguously. This simple adjustment tames erratic flickering and ensures your solar lights respond only when truly needed.
When sensor troubles arise, think of these steps as your toolkit: reset to refresh, then reposition to protect. With a little care, your solar lights will once again dance to the quiet rhythm of day turning into night, weaving a warm, eco-friendly glow that wraps your garden in soft, sustainable magic. ✨🌿

Hot Air Balloon Solar Lantern – Solar Powered Garden Light
Preventing Water Damage and Extending Solar Light Lifespan
Water and electronics don’t mix well—especially when it comes to your beloved solar lights. The gentle rain or heavy dew, though natural, can sneak inside the housing and bring about corrosion or electrical hiccups, turning your garden’s twilight sparkle into a dim disappointment. Spotting water damage early and taking simple precautions can keep your solar lights shining bright season after season.
Identifying Water Damage Signs
Start by checking your lights for telltale signs of water trouble. Corrosion inside the battery compartment or on contact points often looks like a white or greenish powdery film—like a tiny frost that kills the glow. Another red flag is when your lights take forever to charge or flicker unpredictably at night. These are whispers from within, hinting that moisture has made a home where it shouldn’t be.
Repairing Water-Damaged Solar Lights
Don’t toss them out just yet. Begin by carefully drying all the internal parts—remove batteries and let the components air dry in a warm, dry spot for at least 24 hours. Use a soft cloth or cotton swab dipped in isopropyl alcohol to clean corrosion gently; the alcohol works like a firefighter, extinguishing damage without harming sensitive electronics. If you find cracks or gaps in the casing that might let water sneak back in, seal them up with clear silicone or a quality waterproof sealant. This simple armor keeps your solar friends safe from future drizzles and puddles.
Tips to Extend Solar Light Lifespan
Placement is key: nestle your solar lights where the sun hits them most—full direct sunlight fuels their nightly enchantment. Avoid spots prone to standing water or overzealous sprinkler sprays; soggy surroundings are invitations for moisture mischief. Keep the panels clean and dust-free, letting sunlight power their magic fully. Regularly swap out batteries on schedule (every 2-3 years) to prevent slow drainage that makes moisture issues worse.
For a quick fix, wrap the base of your solar stake lights with a little waterproof tape or relocate them slightly higher to dodge puddles after rain. These small moves translate into long-lasting glimmers along your pathways and garden beds—your nightly outdoor fairy tale.
By keeping water out and sunlight streaming, your solar lights will continue to sprinkle gentle, eco-friendly light over your outdoor haven—season after sparkling season.